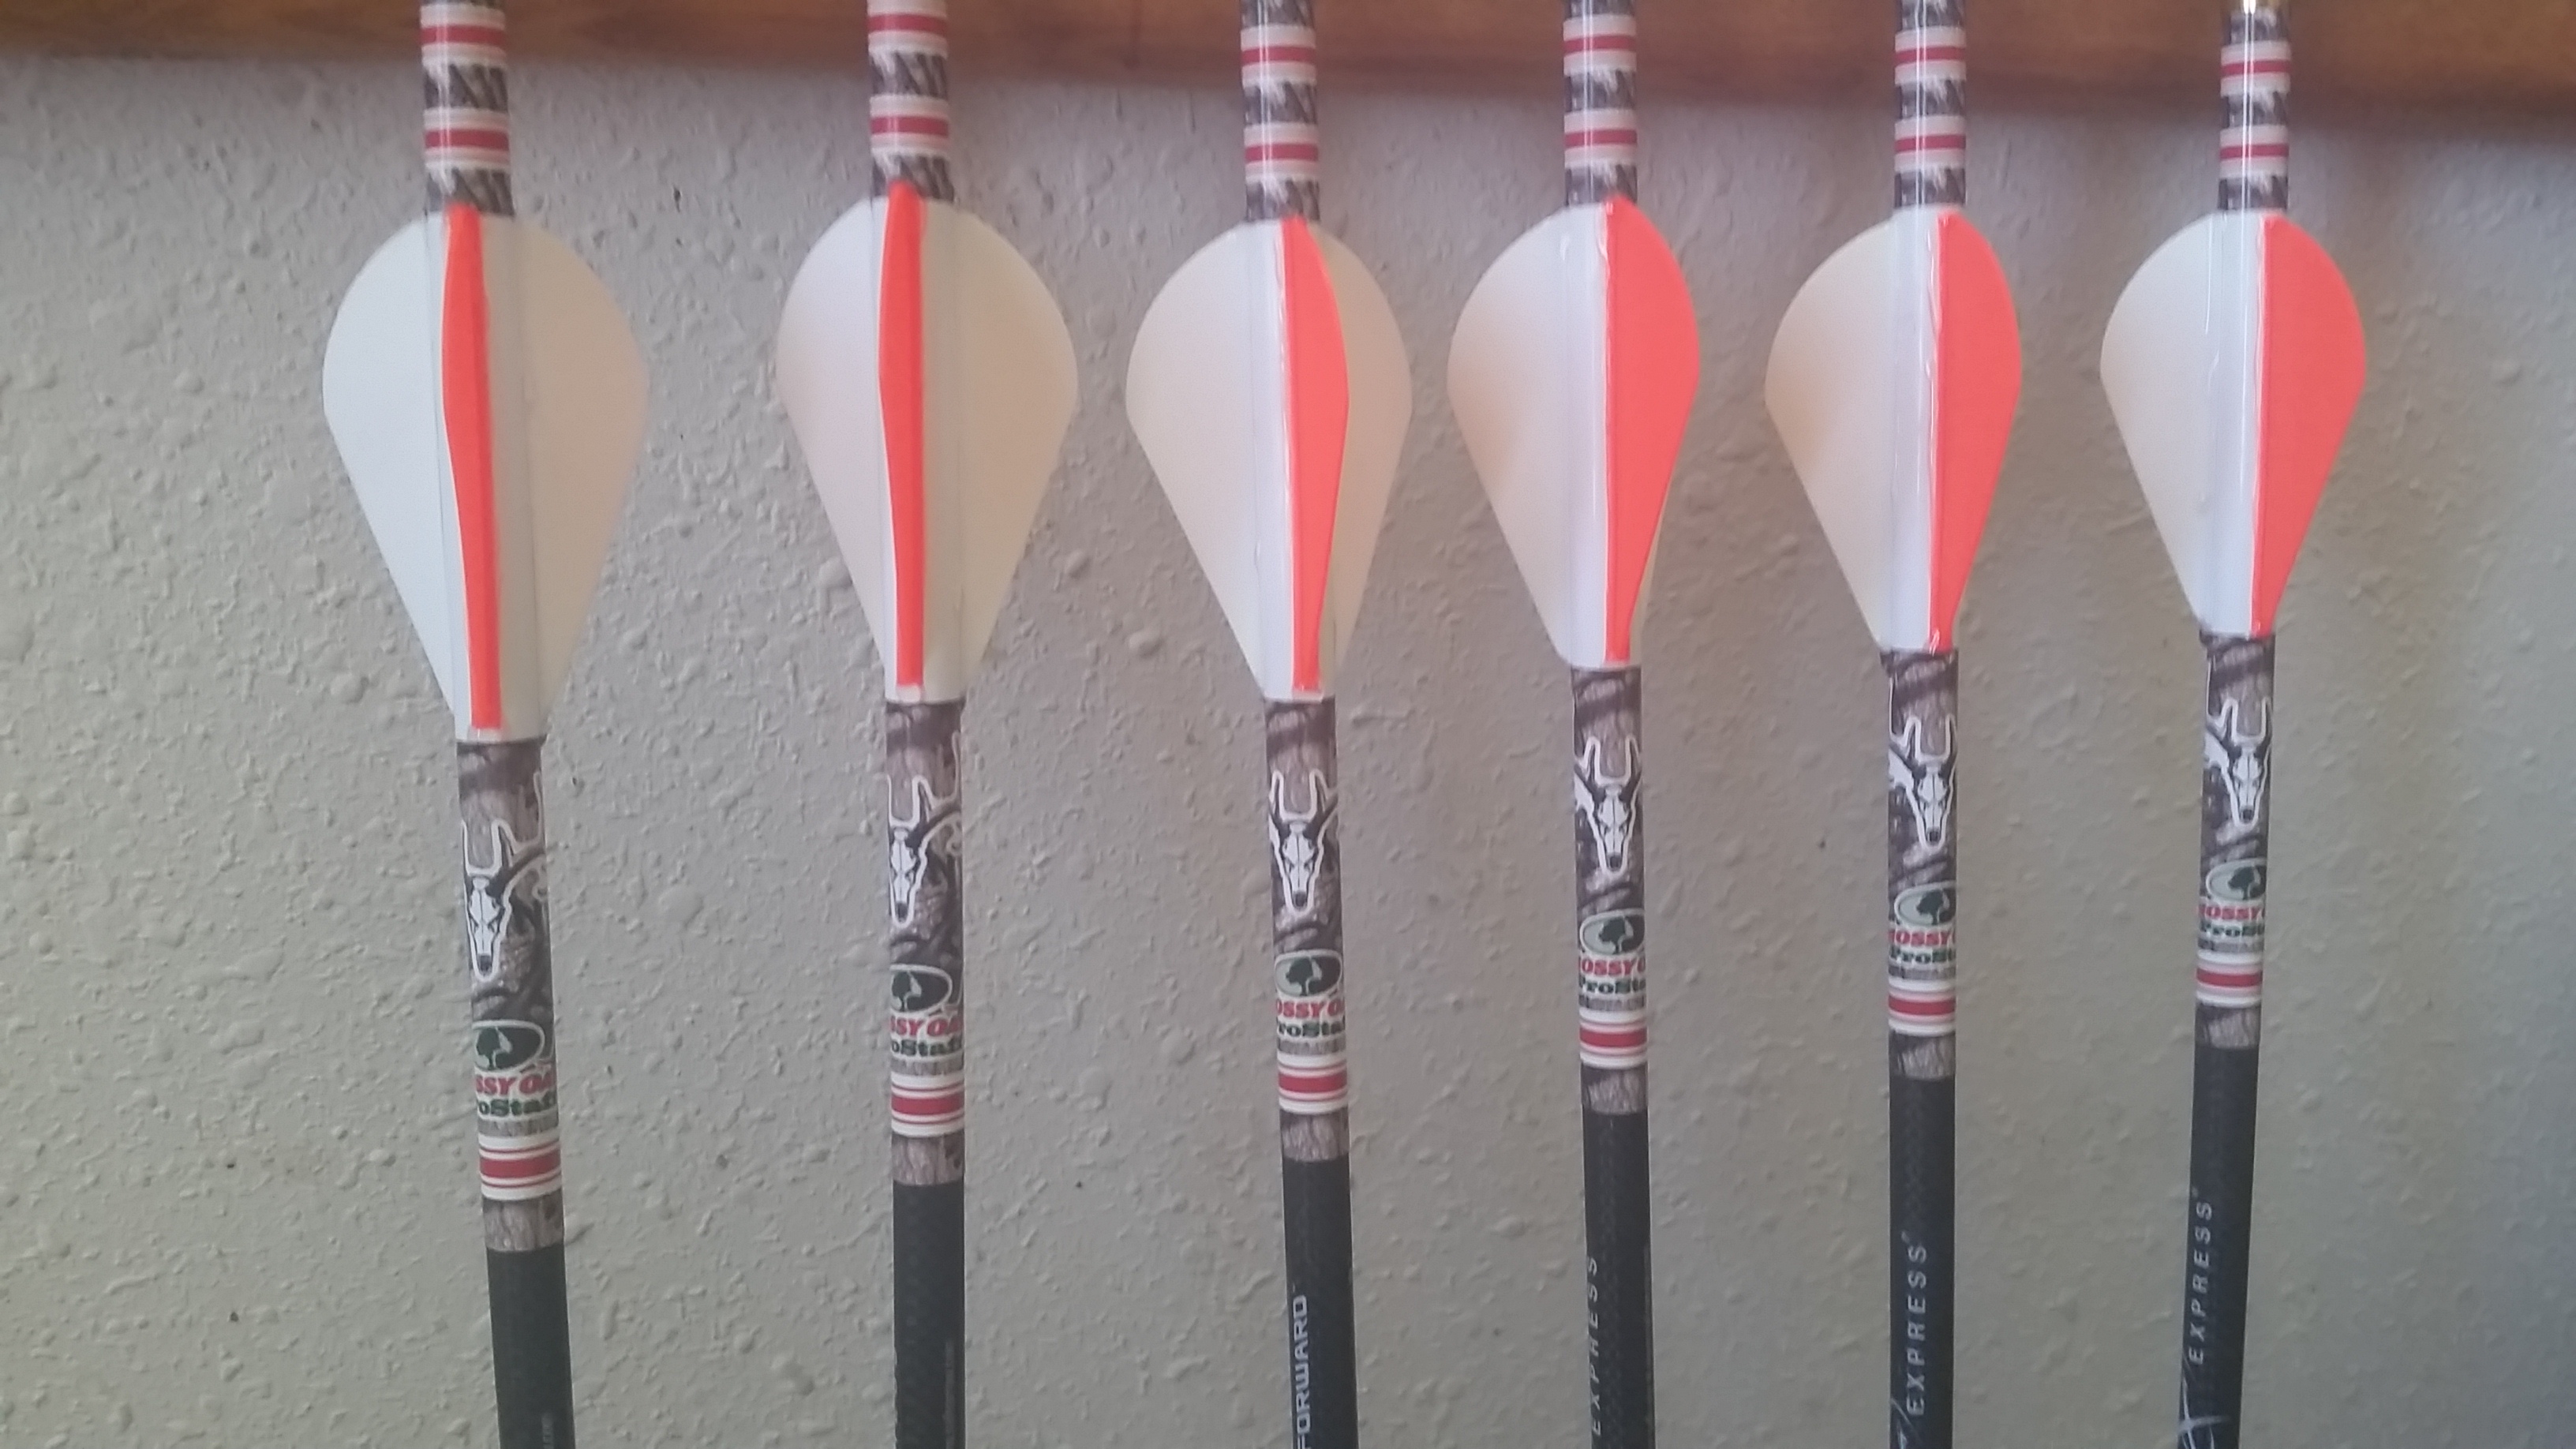


 With archery season being slightly more than a month away, I’m starting to get seriously excited to be back in a treestand. I feel like I am way behind this year, so I will be spending quite a bit of time in the next month getting things ready and organized for the year. One of the first things I like to take care of is filling my quiver with newly fletched arrows. I shoot the same arrows throughout the year for 3D and general target practice as I do for hunting, so the vanes get scuffed and the wraps start to peel ever so slightly, and I just like to start the season with my gear in tip top shape.
 I’ve been fletching my own arrows for roughly eight years. I’ve been using wraps for about seven years. There are several reasons and advantages to using wraps. One of those is the opportunity to have a custom wrap printed so your arrows are personalized. This can help identify your arrows if you participate in any management hunts that require you to identify your equipment. The custom aspect is nice, but the main reason I use wraps is ease of vane removal. I’ve never been good at stripping vanes glued directly to the shaft without worrying about damaging the shaft itself. This is why I only buy raw shafts, so I never have to strip any glue from them.
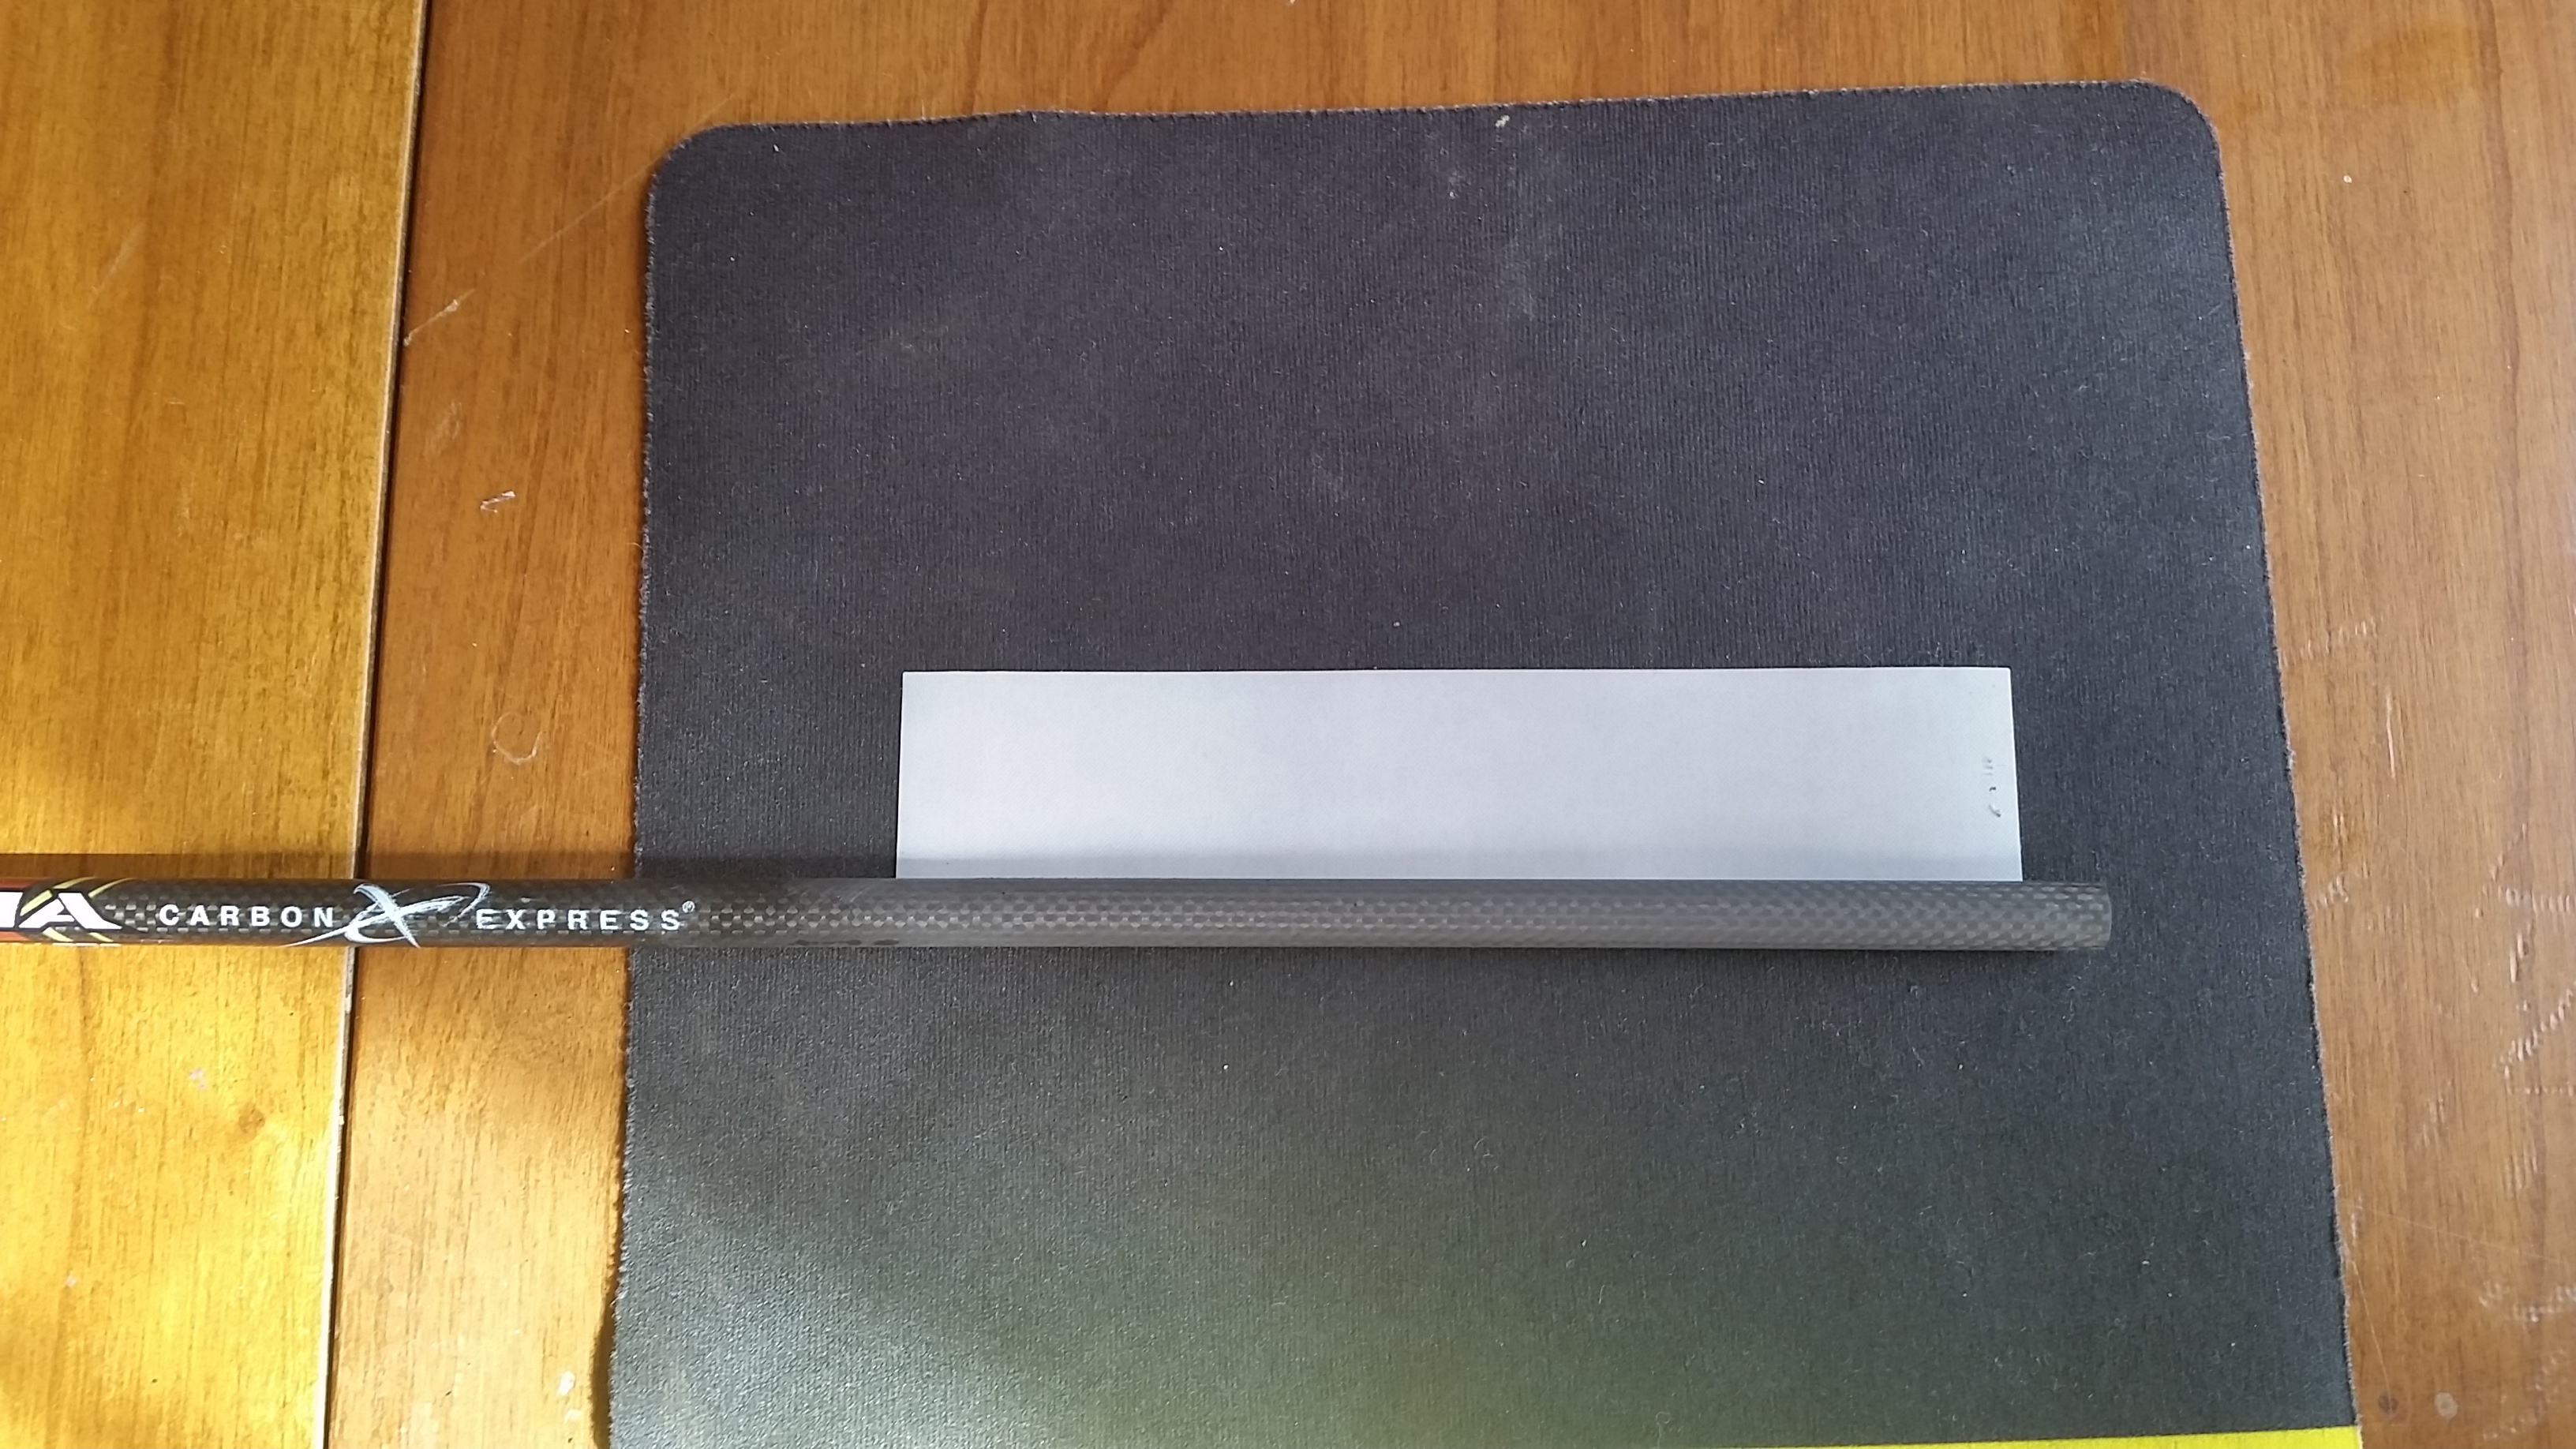
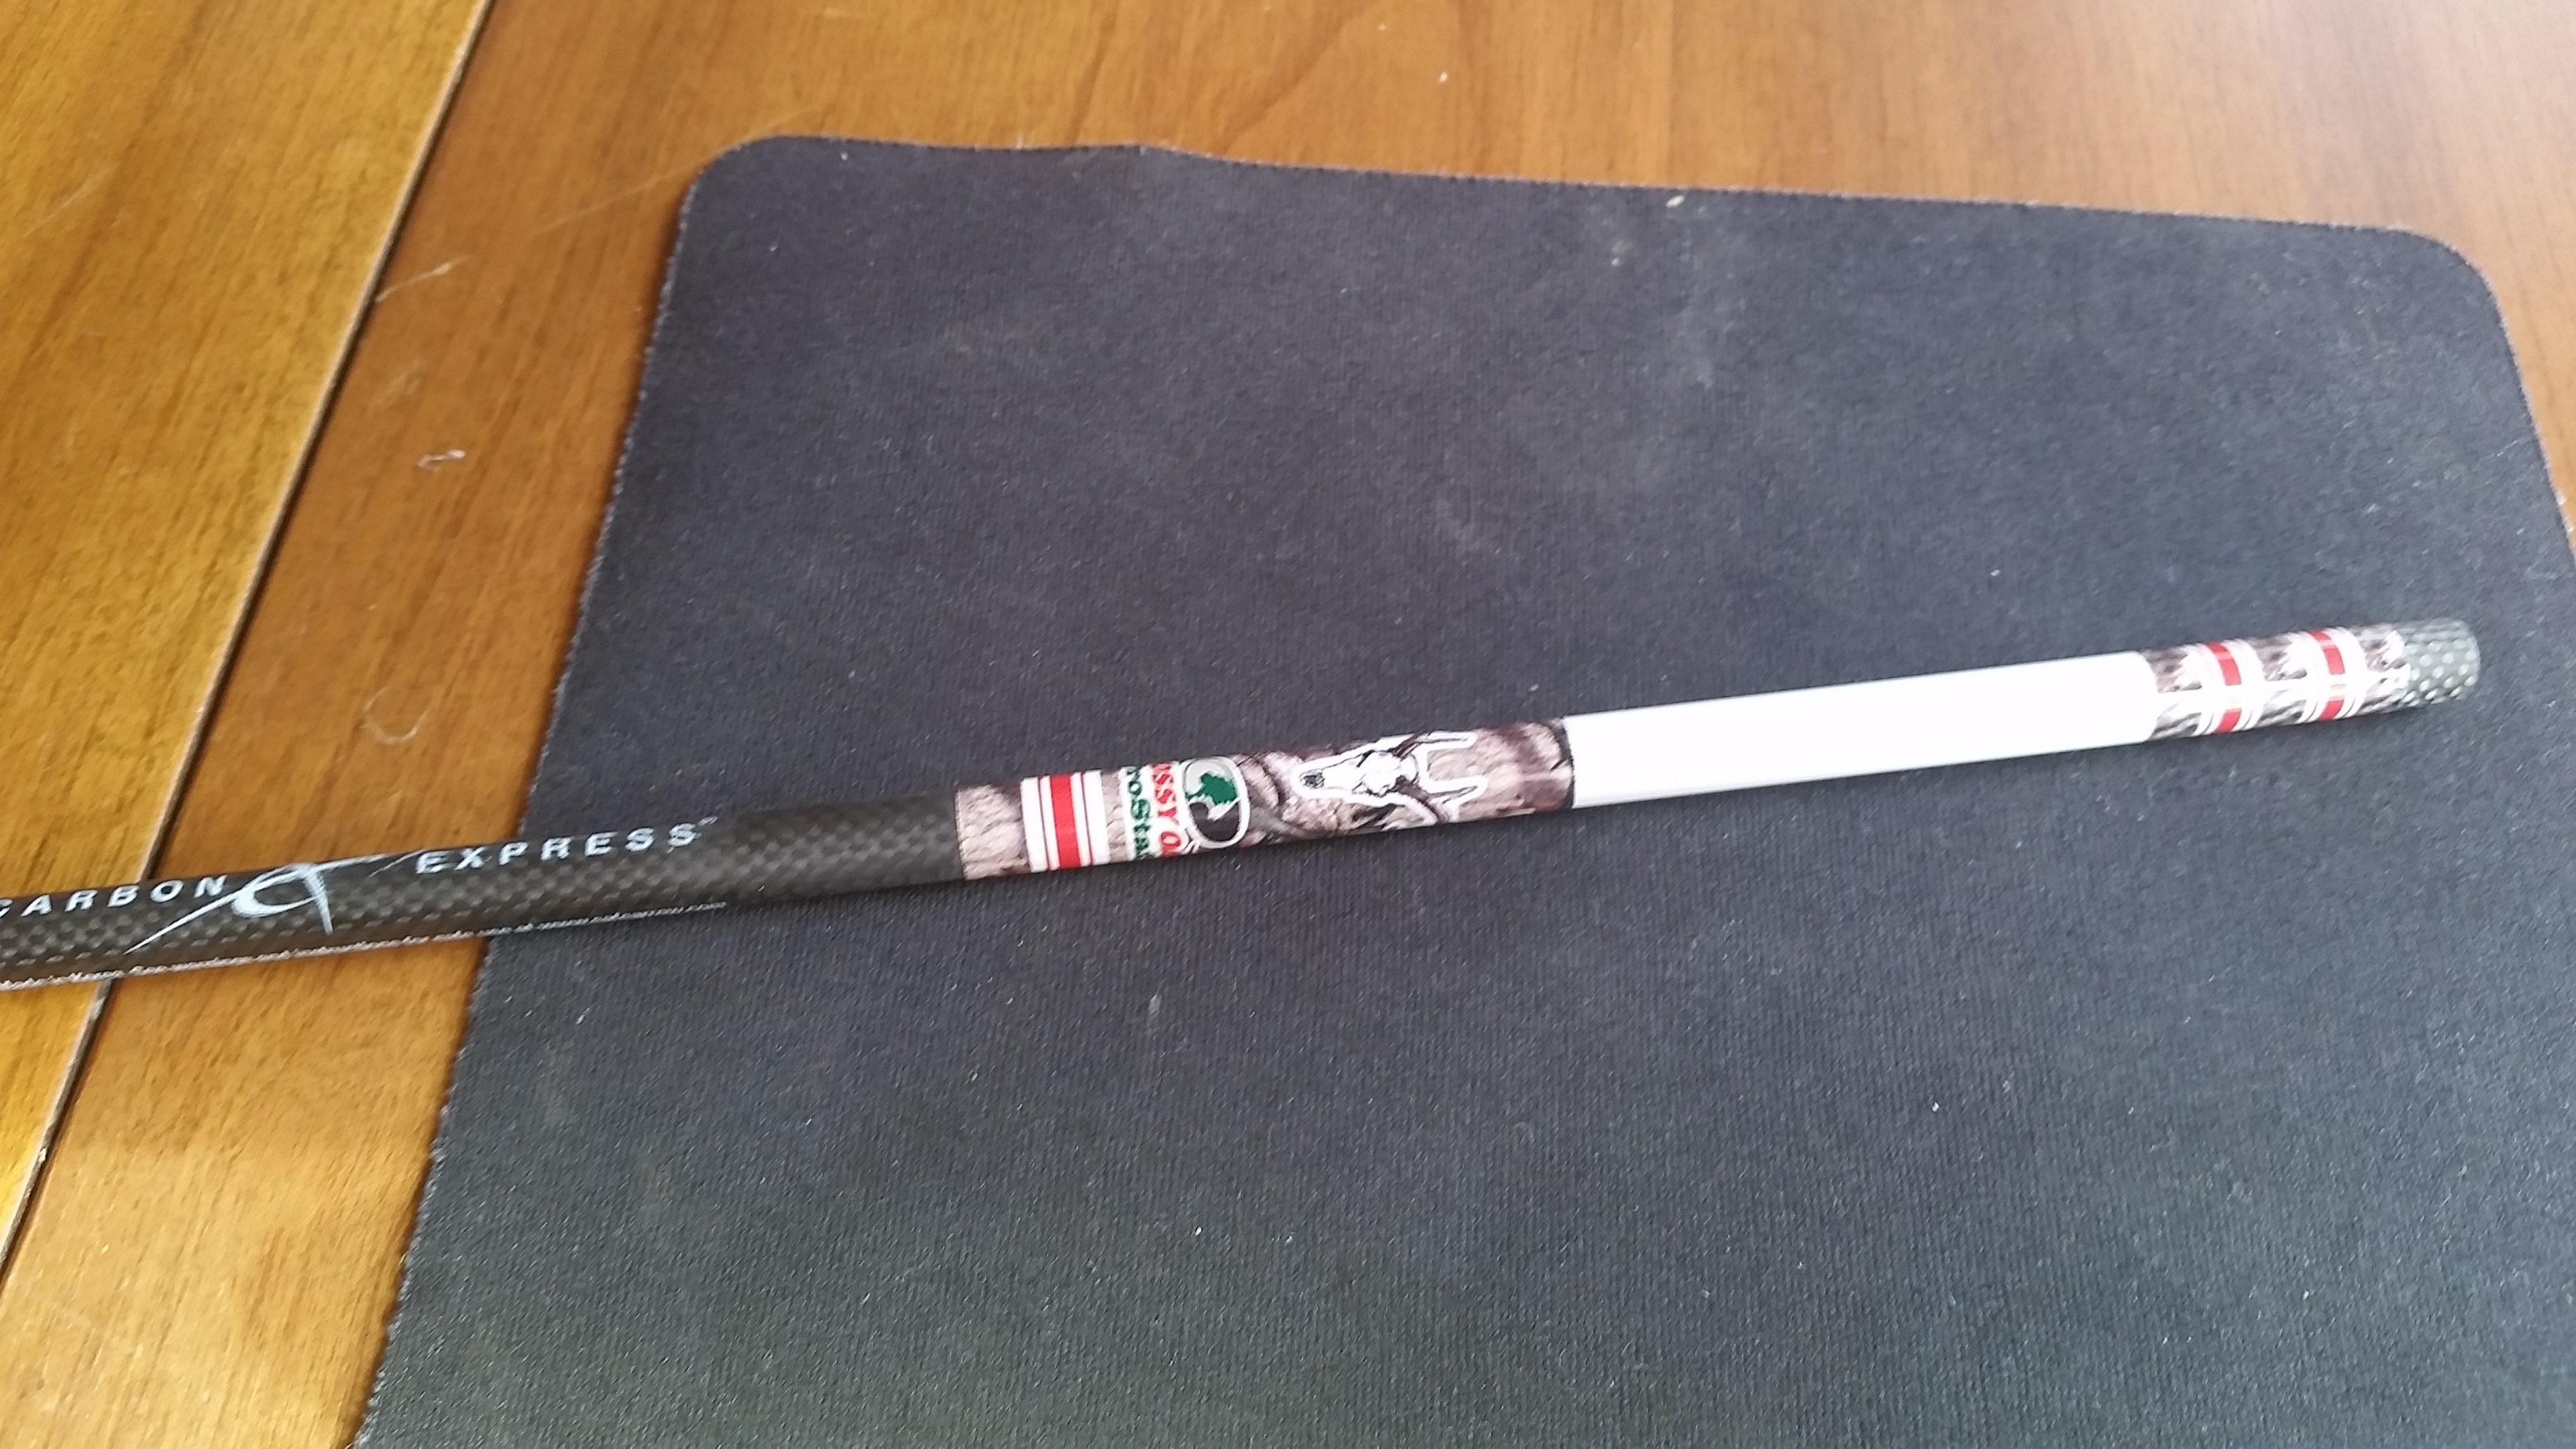
 If I’m refletching an arrow, I start with a filet knife that I keep just for use in arrow building. I strip each vane off, then work my way around the shaft, stripping the shaft as I go. After the old wrap is removed, or if I’m starting with a new shaft, I dip the end in a bottle of nail polish remover and then remove all residue with a Scotch Brite pad. After the shaft dries, it is ready for a new wrap. I peel the wrap from the backing paper and place it face down on a mouse pad. Place the shaft next to the wrap making sure to keep them parallel so the wrap goes on straight. Once you’re sure it’s square, roll the shaft over the wrap.
 Now that you have a wrapped shaft, you need to attach the vanes. I use a tower jig made by Cabela’s. There are several styles of jigs made by a few different companies, but I prefer the tower style so I can glue all three vanes at once. I’ve made a few marks on my jig over the years for quick reference, denoting things such as vane height and alignment. Another trick I’ve learned since I use short Blazer vanes, is to put a second vane in each clamp above the vane I’m gluing to hold the clamp even with the length of the shaft. Once you have the shaft locked in the jig, put a bead of glue down each vane and slide the clamps into the jig until the vanes are seated against the shaft. The type of glue you use will determine how long you need to leave the clamps in place. Most of the glue on the market today will be set in 30 seconds or less.
 After I remove the arrow from the jig, I like to put an extra drop of glue on the leading and trailing edge of each vane. This helps hold the vanes tight in case of contact with other arrows and targets. I started doing this early on when I used a Whisker Biscuit rest, and it dramatically reduced vane damage from that rest. I’ve been using drop away rests for years now, but I continue to put those extra drops on the vanes and I think it extends the life of the vane.
Fletching your own arrows is fun, easy, economical, and a good way to make sure your gear is ready to go without having to make a trip to the shop every time you damage a vane.