


 I always enjoy trying new recipes, and this year I decided to try one with some of our deer meat. It is technically called dried deer, but it is far from dry. It is made from whole muscle, and although it takes more than a week to make, it’s very simple and most of the time is spent waiting for the meat to cure in the refrigerator. I made a batch in November and I liked it so much, I made twice as much from my muzzleloader buck. I like to use the large muscles from the hind quarter when I make this or similar items, such as corned venison and venison pastrami.
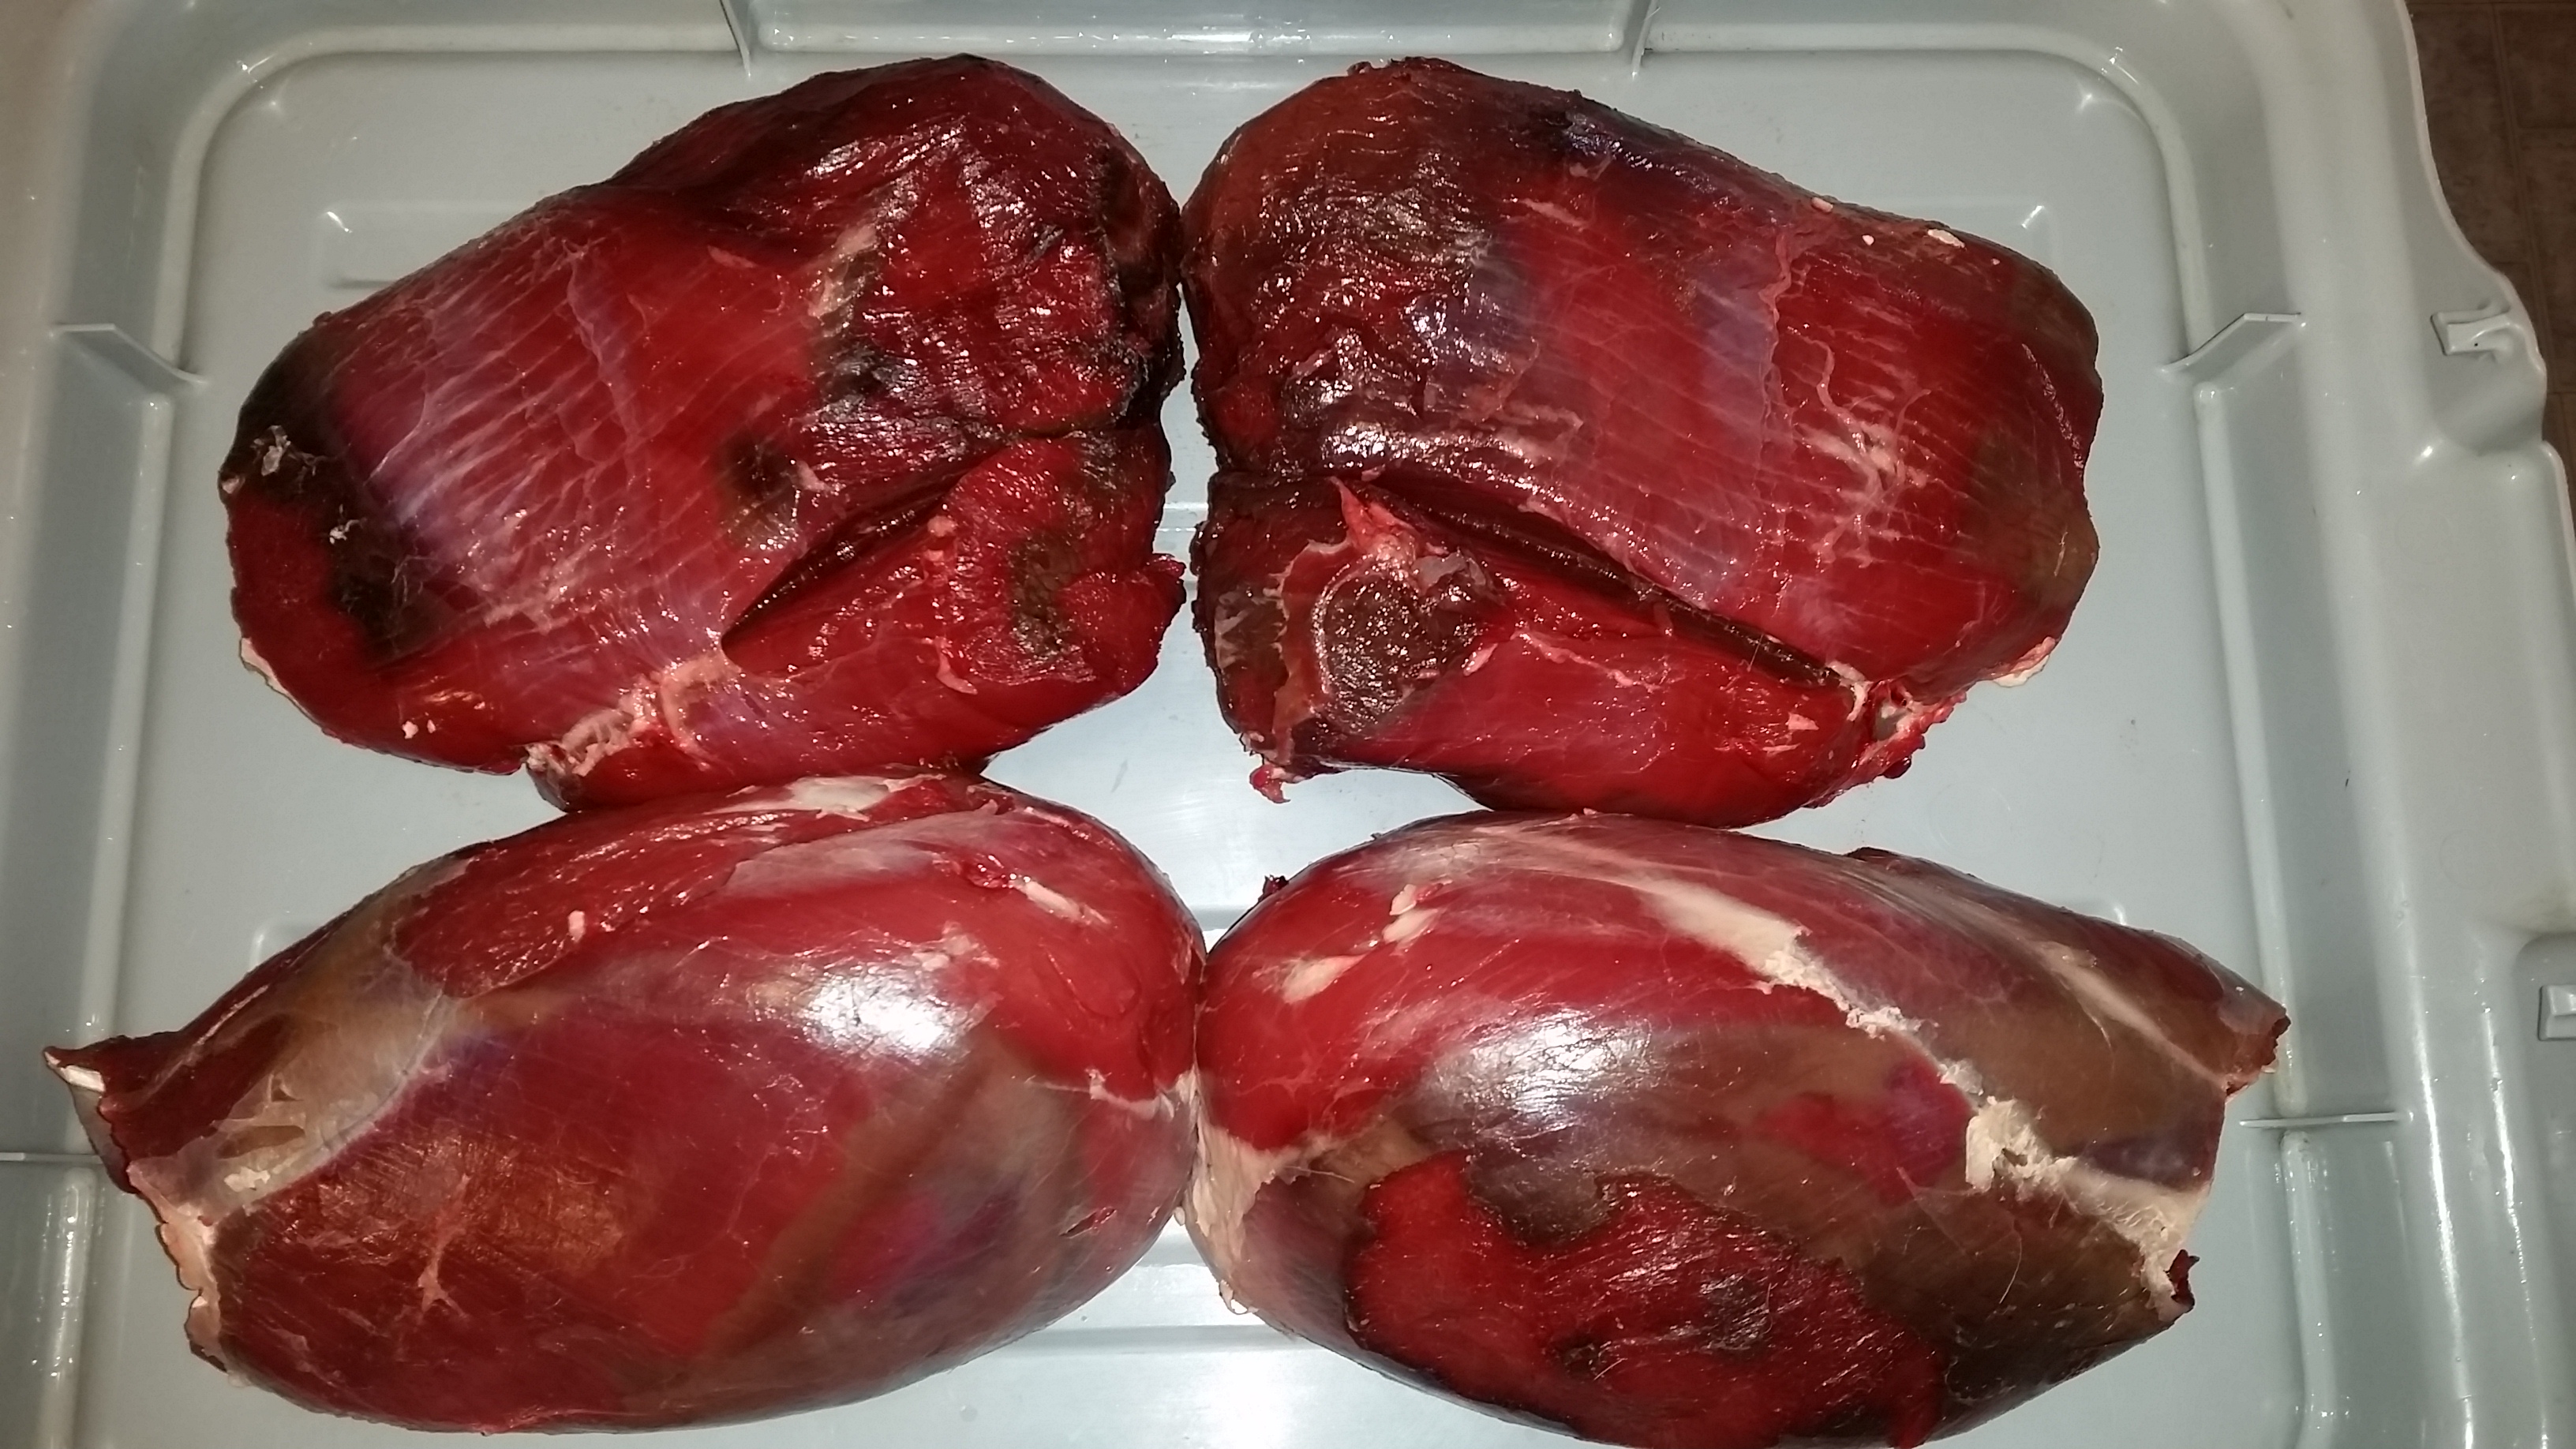
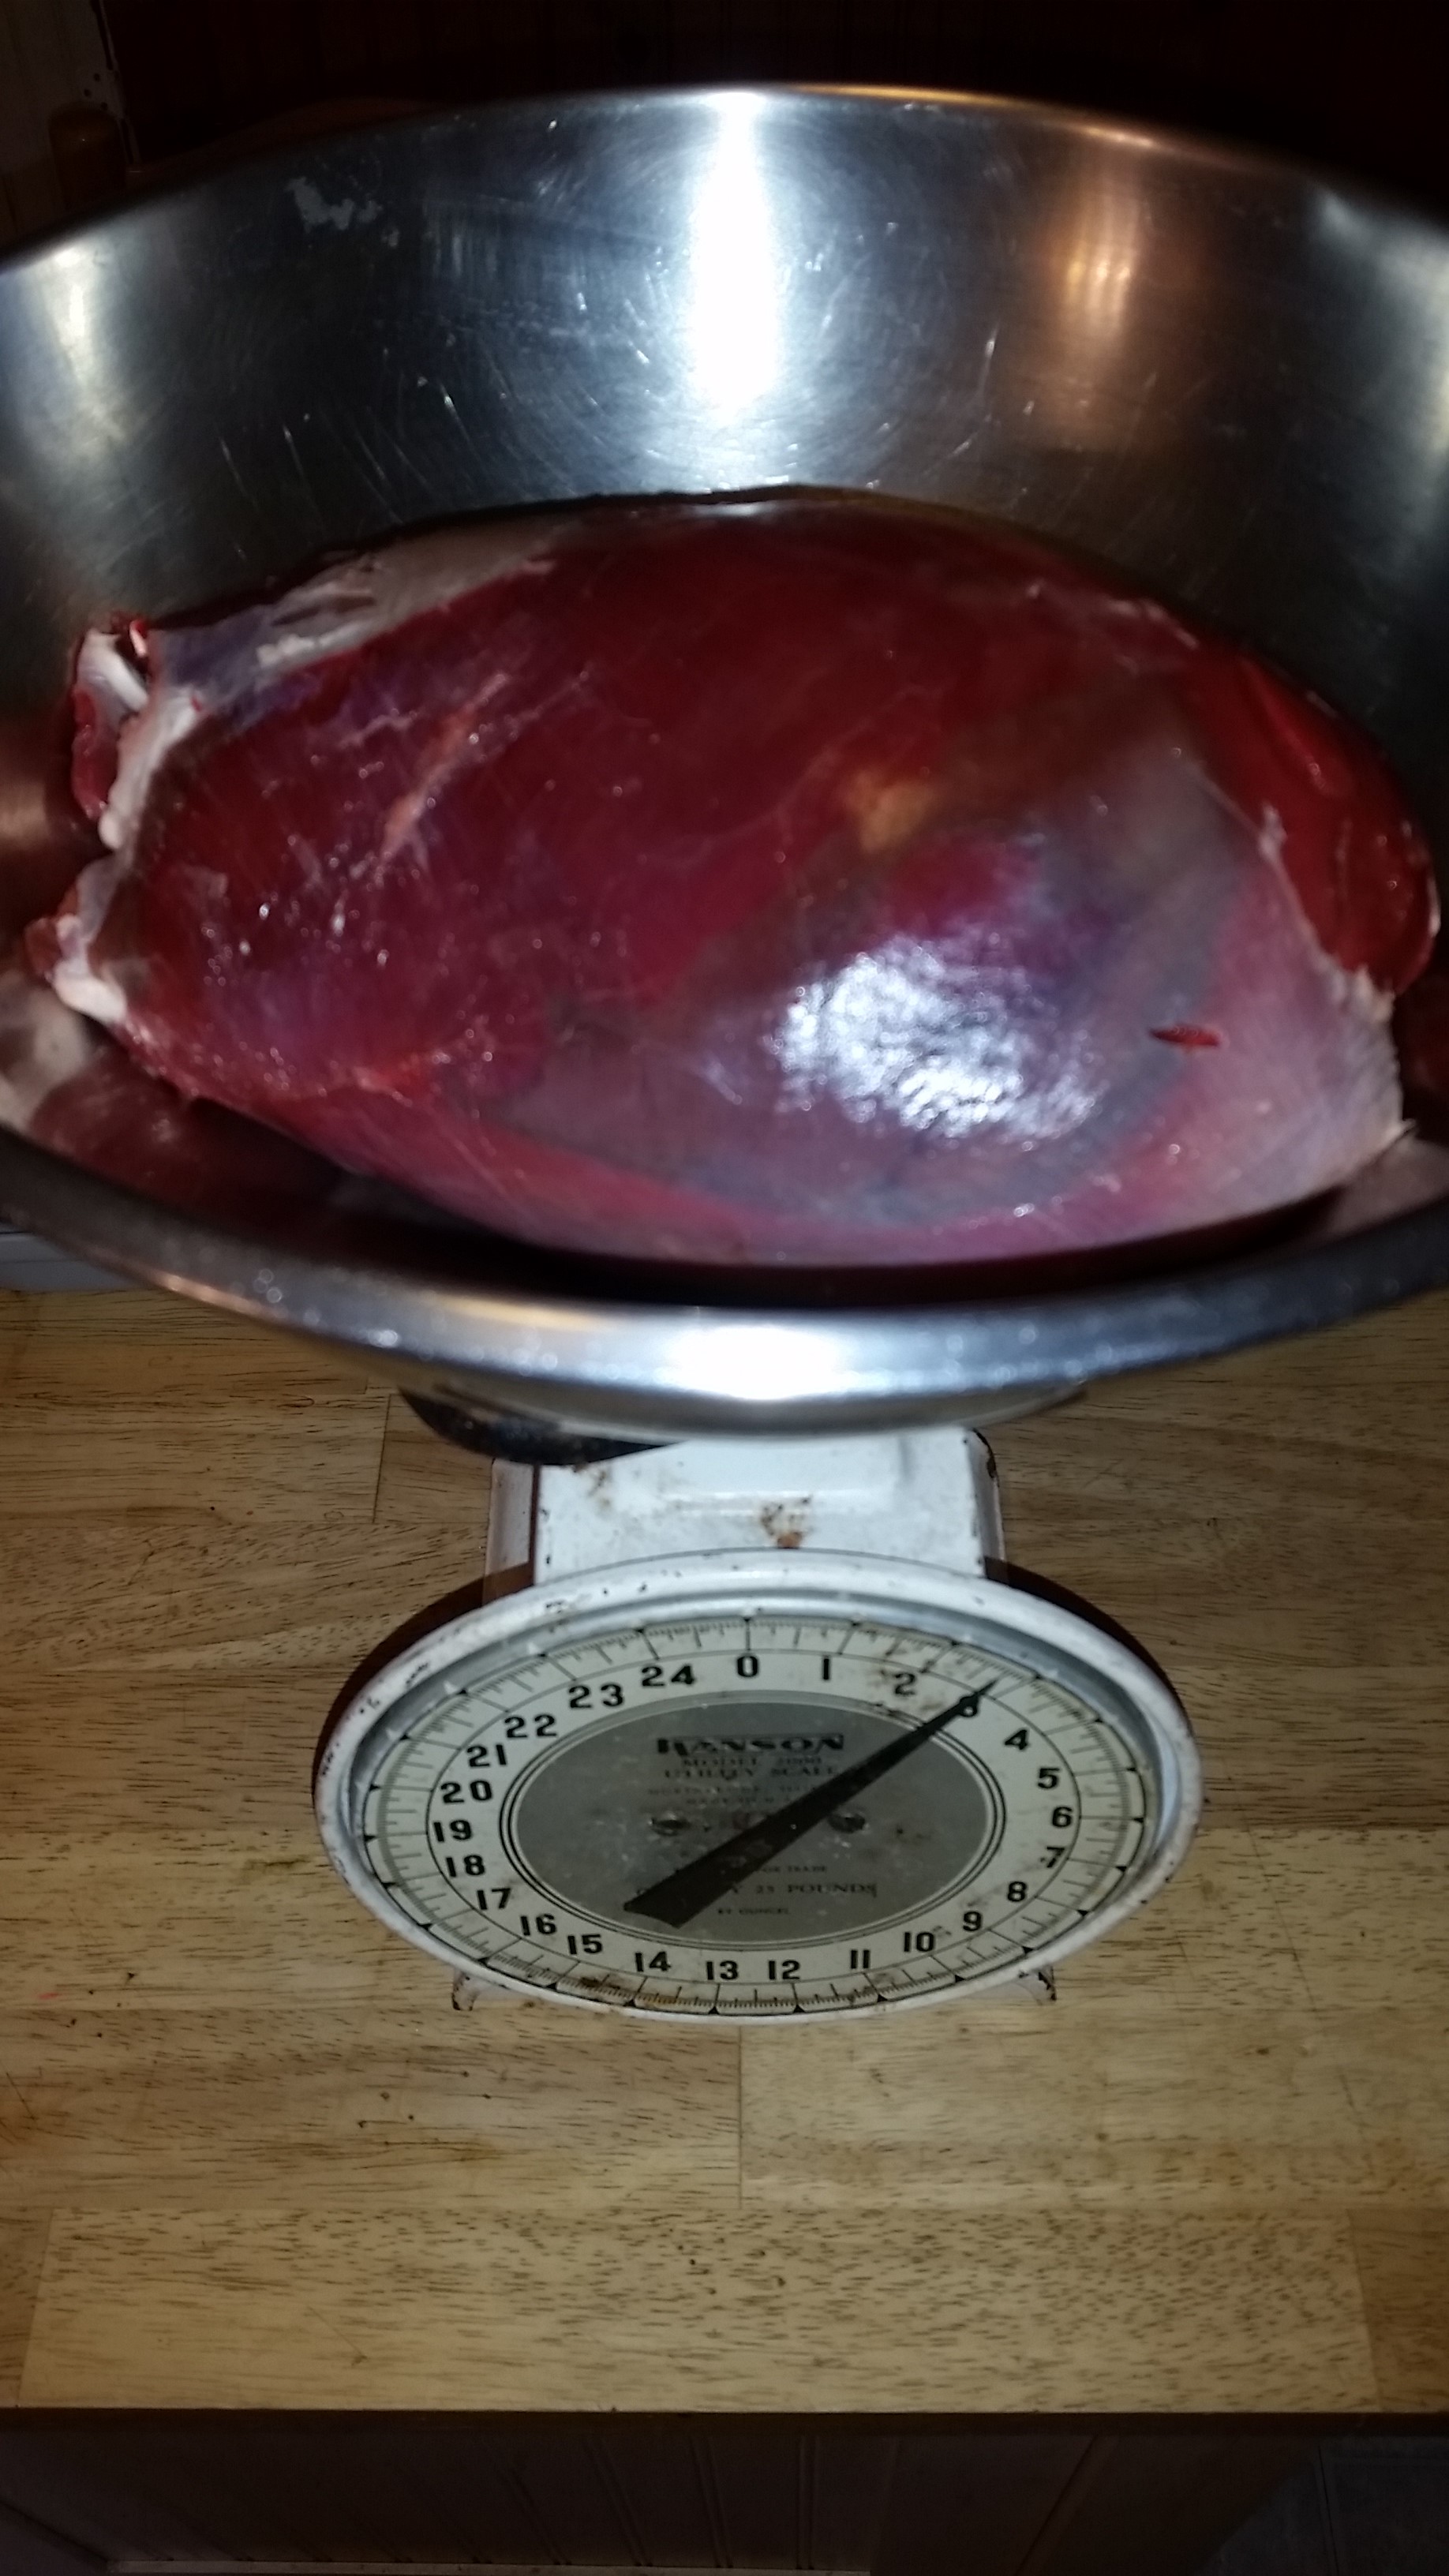
 This recipe is along the same lines as those, only much easier. I started with what I call the football roast and the rump roast, although I believe the technical terms are the sirloin tip and the top round. These roasts have averaged around three pounds each from most of the deer I’ve processed over the last few years. To start this process, you will need a gallon sized ziploc bag for each roast, as well as some pink curing salt, brown sugar, and also garlic powder and/or onion powder. Weigh your roasts, and put one tablespoon each of curing salt and brown sugar per pound of meat in the bag.
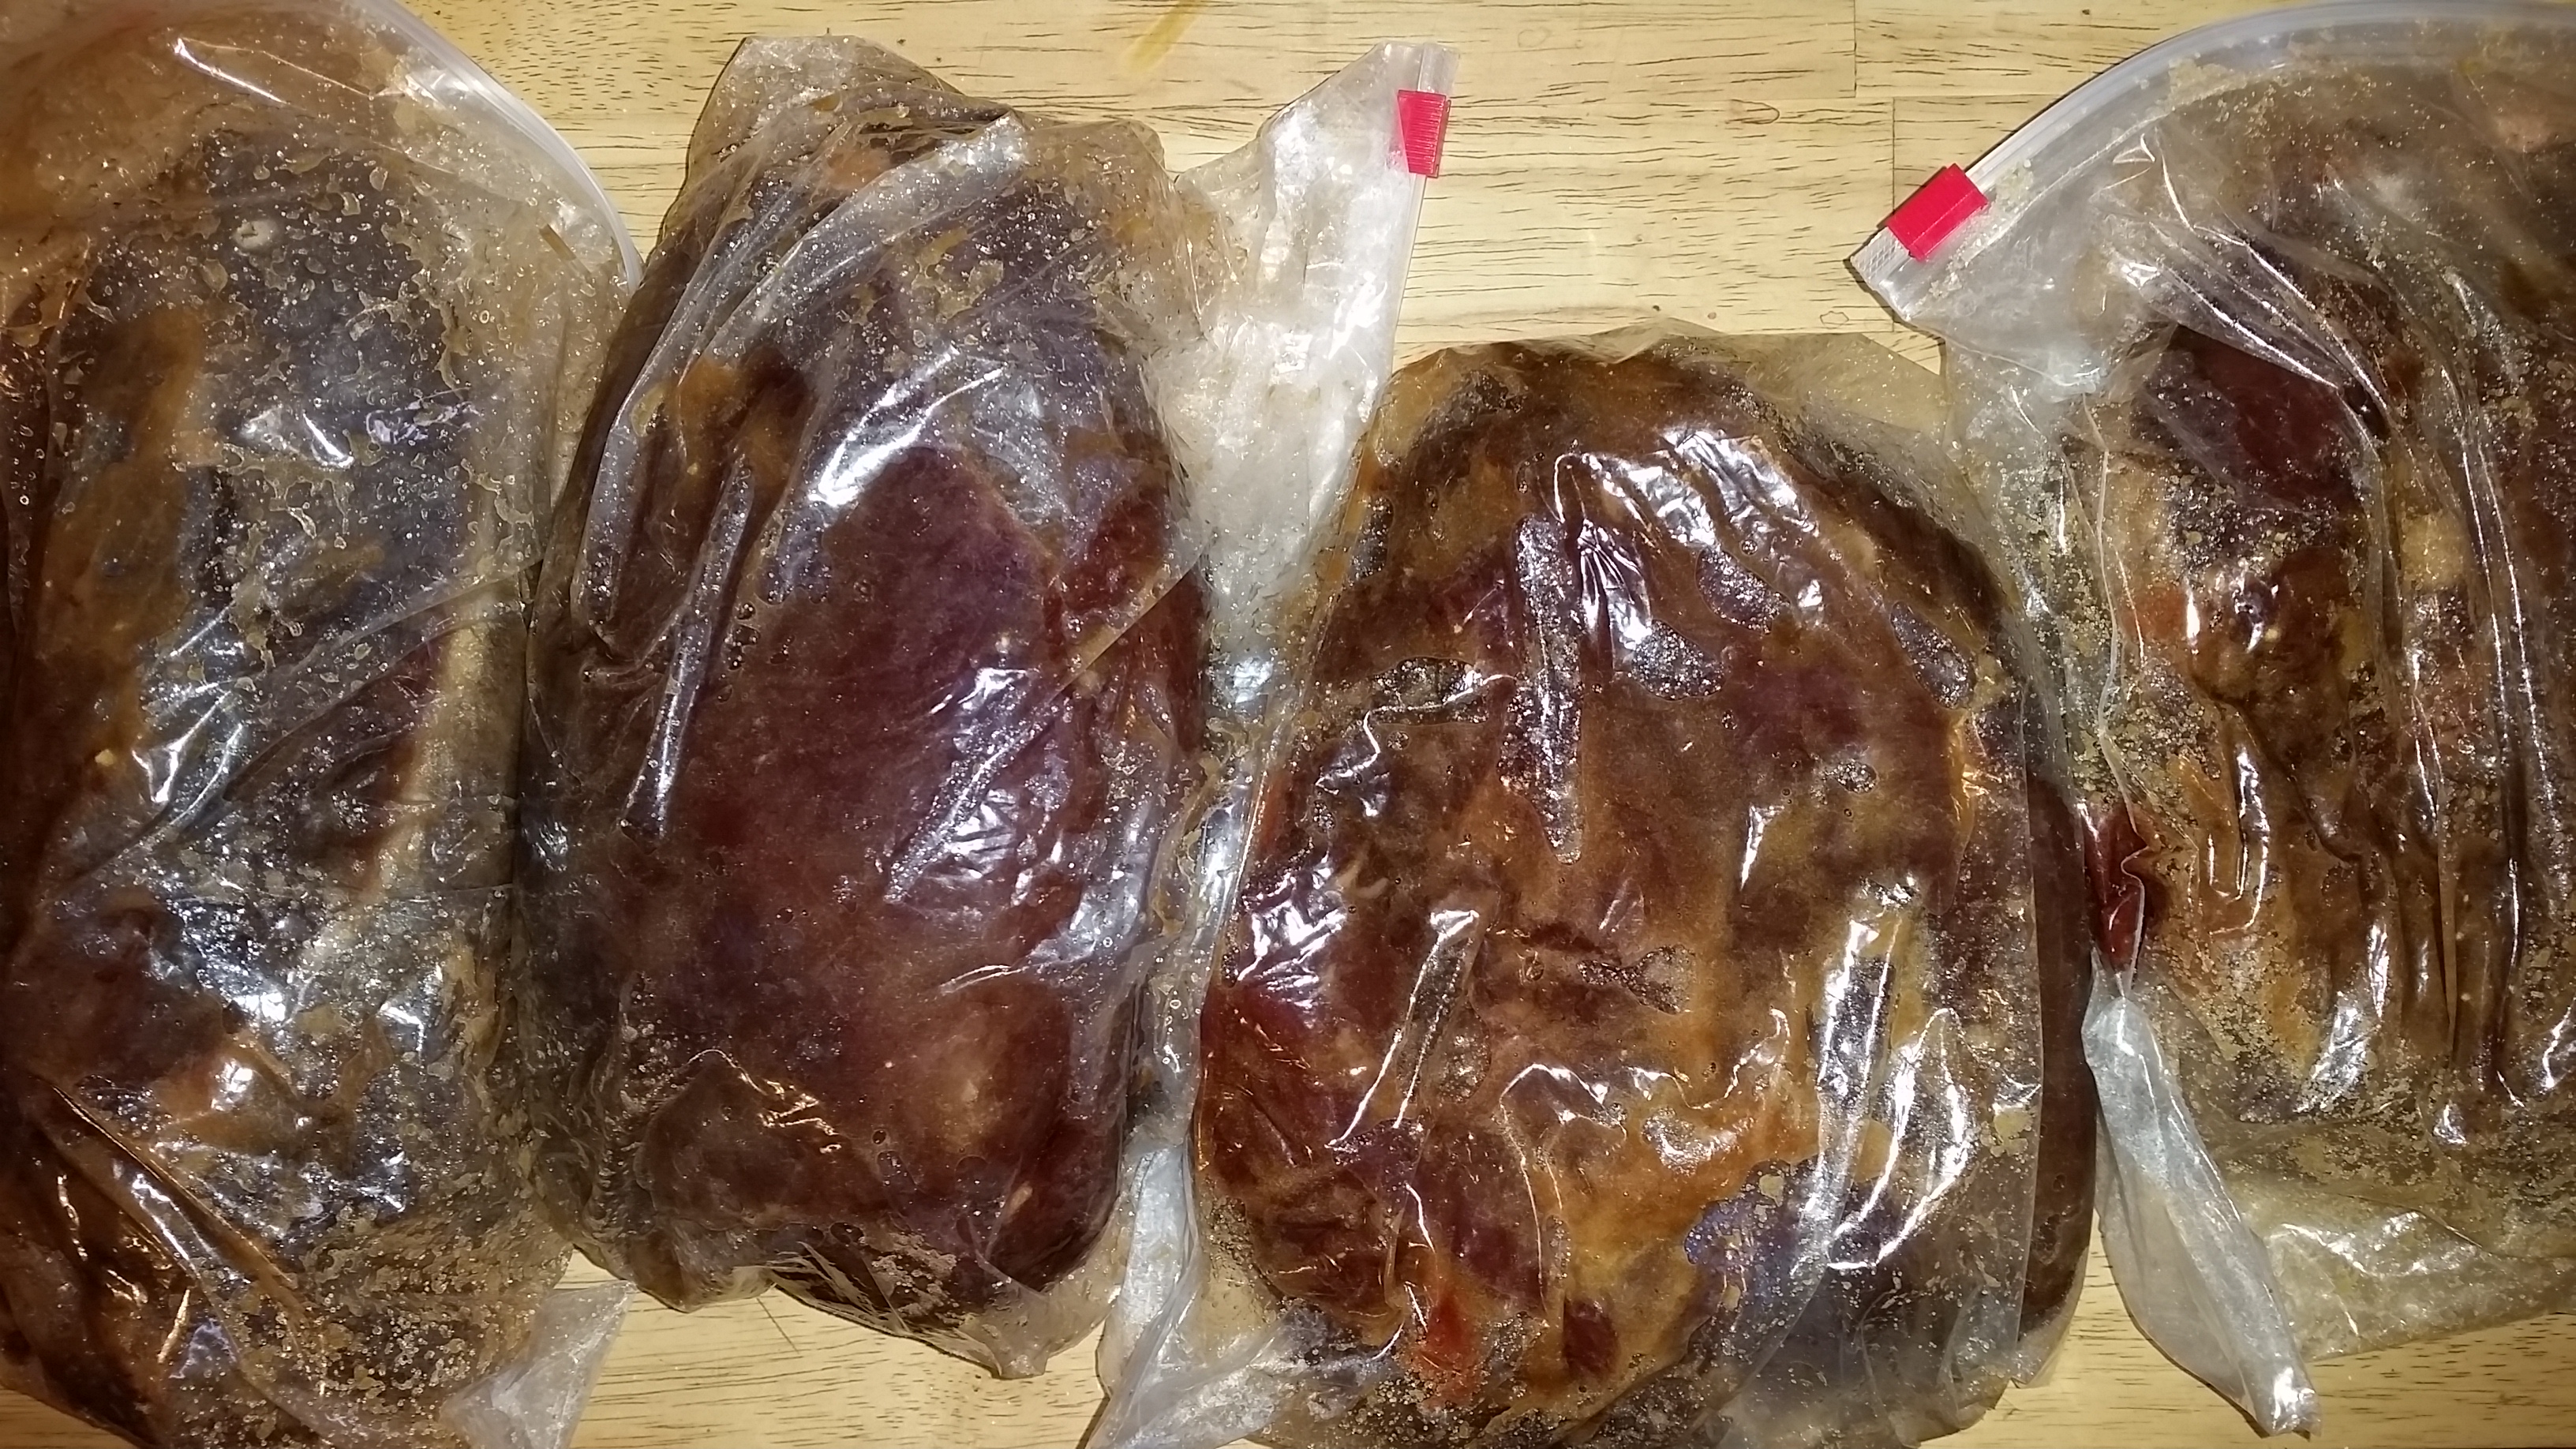
 I also put about one teaspoon of onion powder (you can also use garlic powder if you prefer) per bag. Put one of the roasts in each bag and push as much of the air out as you can. Work the salt and sugar mixture into the meat thoroughly, making sure you get it into all the cracks in the roast. After you have covered the roast well with the mix, put it in the refrigerator. Take the bag out every day for the next seven days and work the mixture into the meat. Each day the bag will have more liquid in it than the last as the cure works into the meat. After you have worked the mixture into all the cracks and feel the meat is sufficiently coated put the bag back in the refrigerator making sure to flip it over to the opposite side each day. After seven days, take the roast out and rinse it in clean water to remove the excess salt.
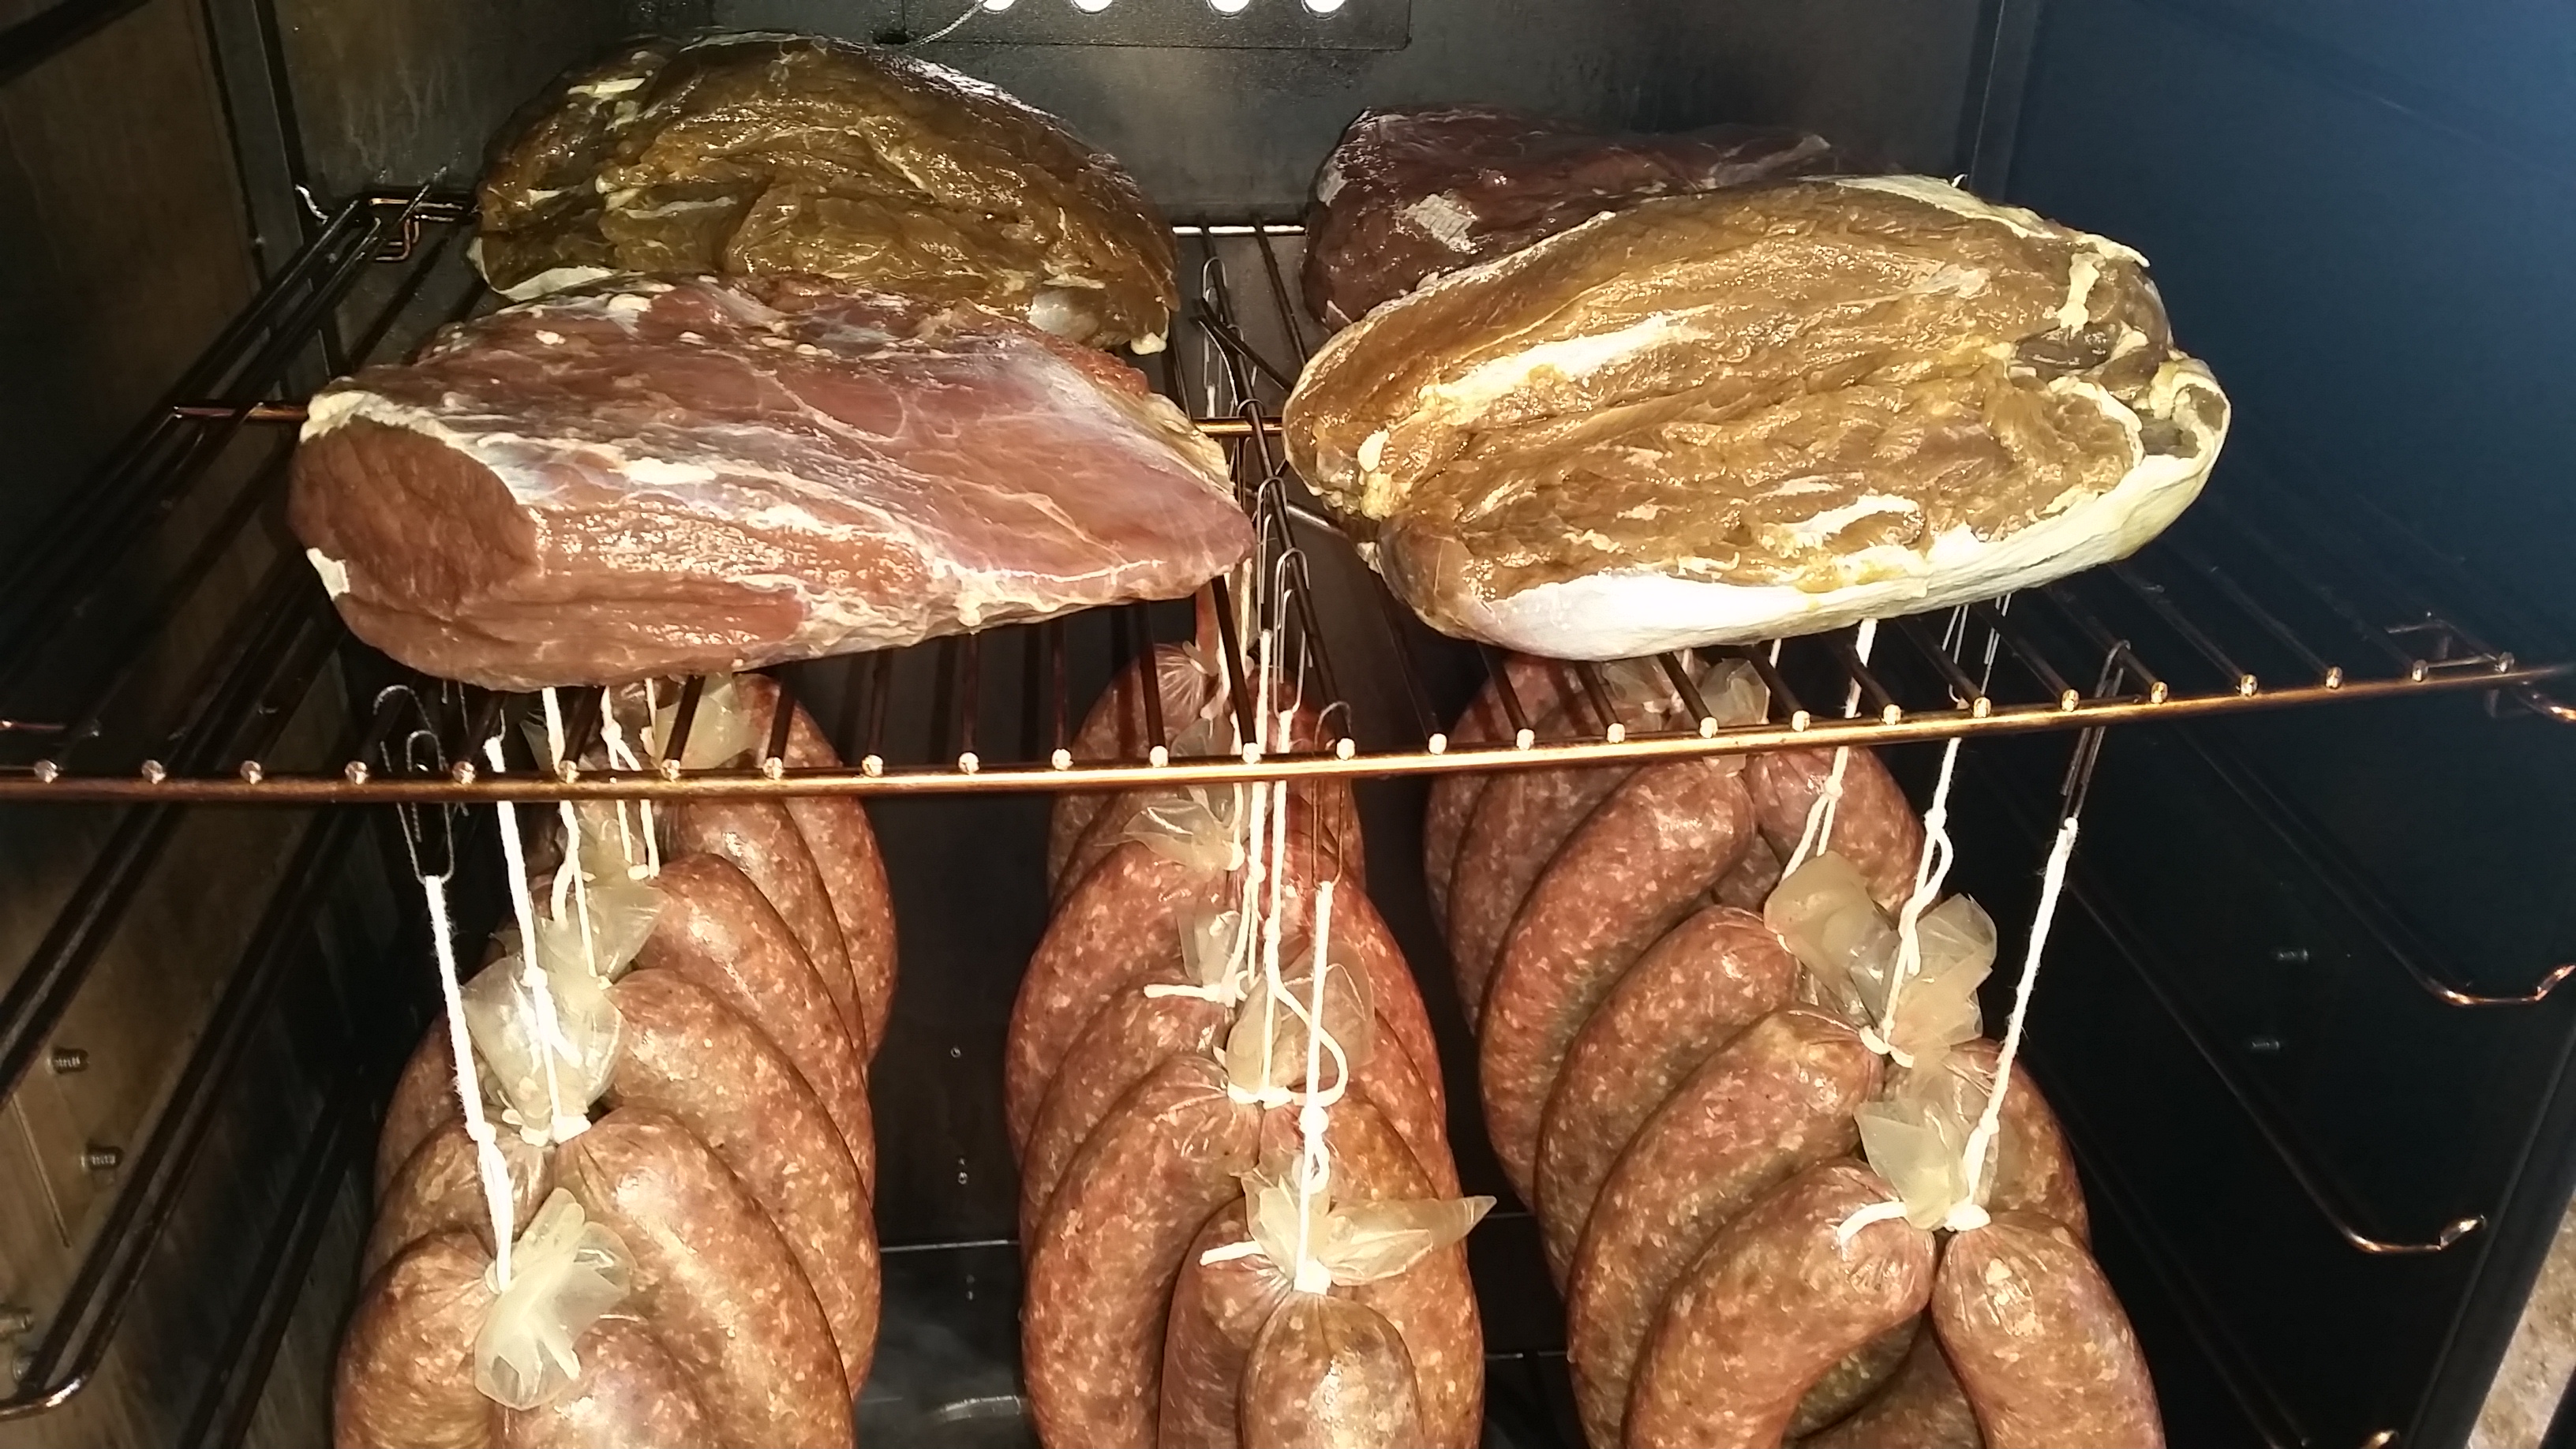 Put the roast in the smoker at 130 degrees without smoke for one hour. Add your wood chips (I prefer a mixture of hickory and apple for deer and pork) and increase the temperature by ten degrees each hour until the internal temperature of the meat reaches 145 degrees. This should take six or eight hours. I only run full smoke for about 4 hours but you can adjust that to your taste. Also if you prefer the meat to be drier you can leave it in until the internal temperature is 150 degrees or higher. After I remove the meat from the smoker I like to wrap it in foil and put it in a cooler to let it rest for an hour or two. This will bring the juices back into the meat and make it very tender.
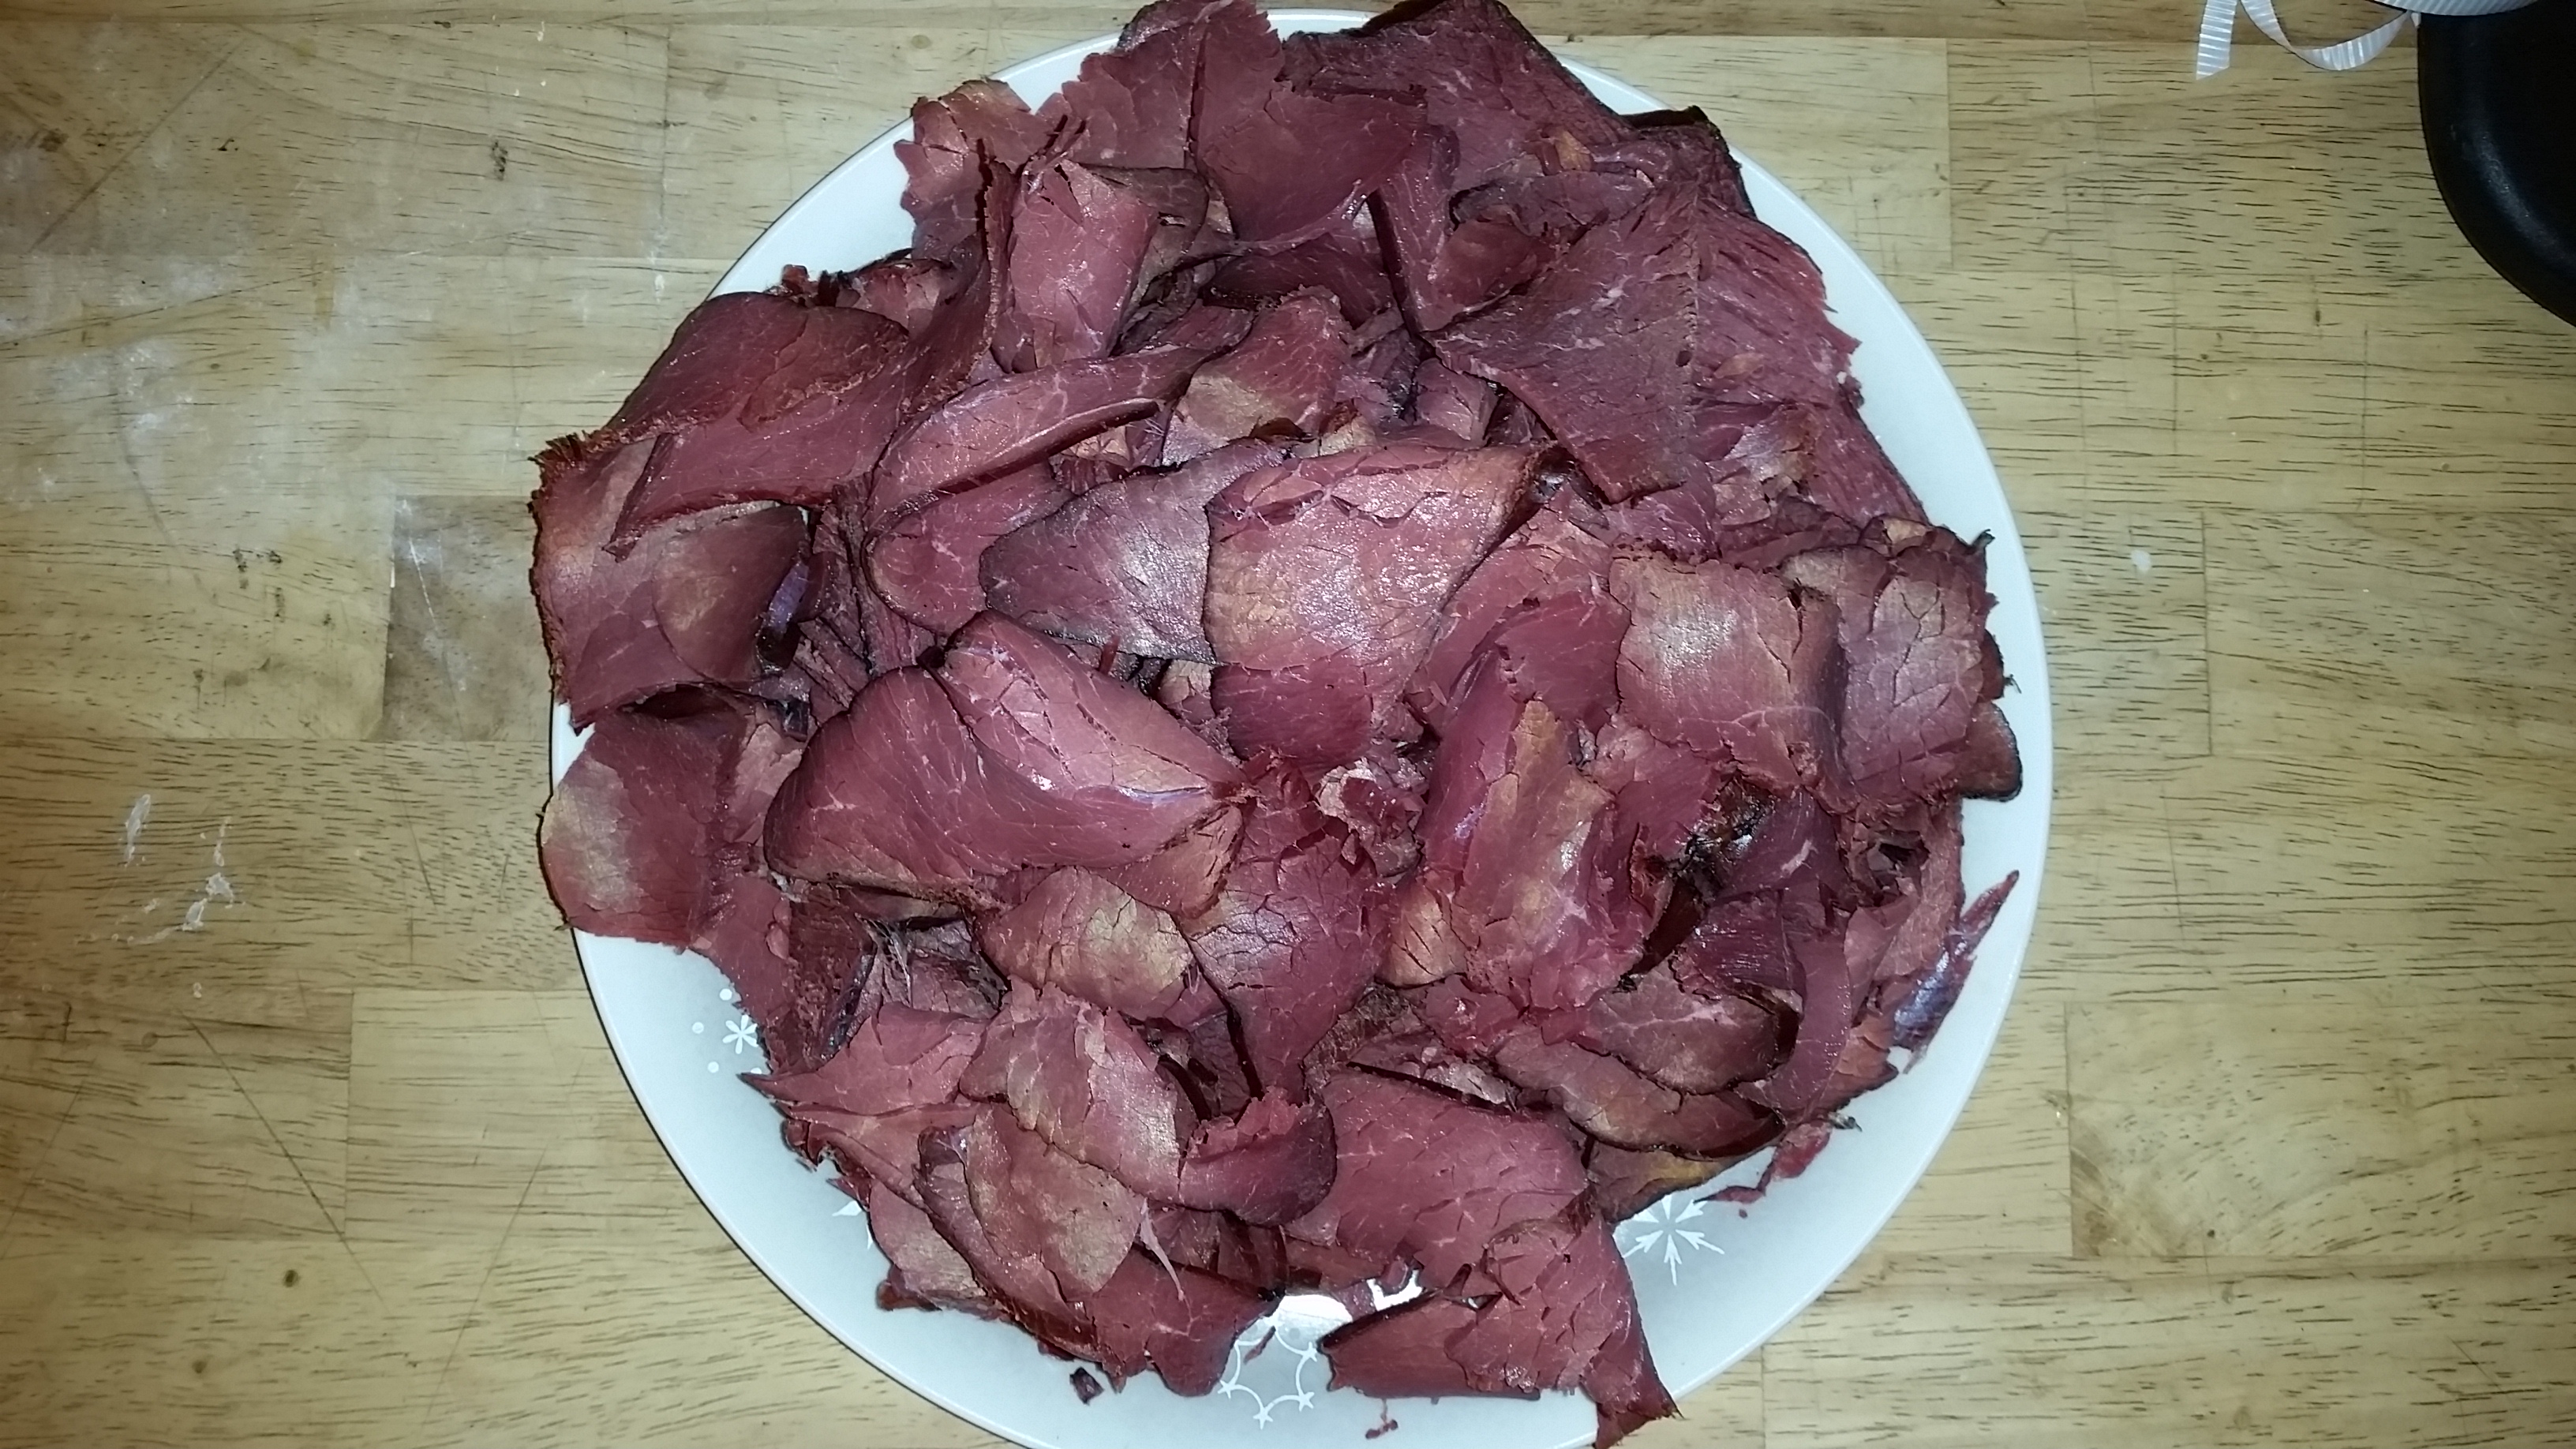
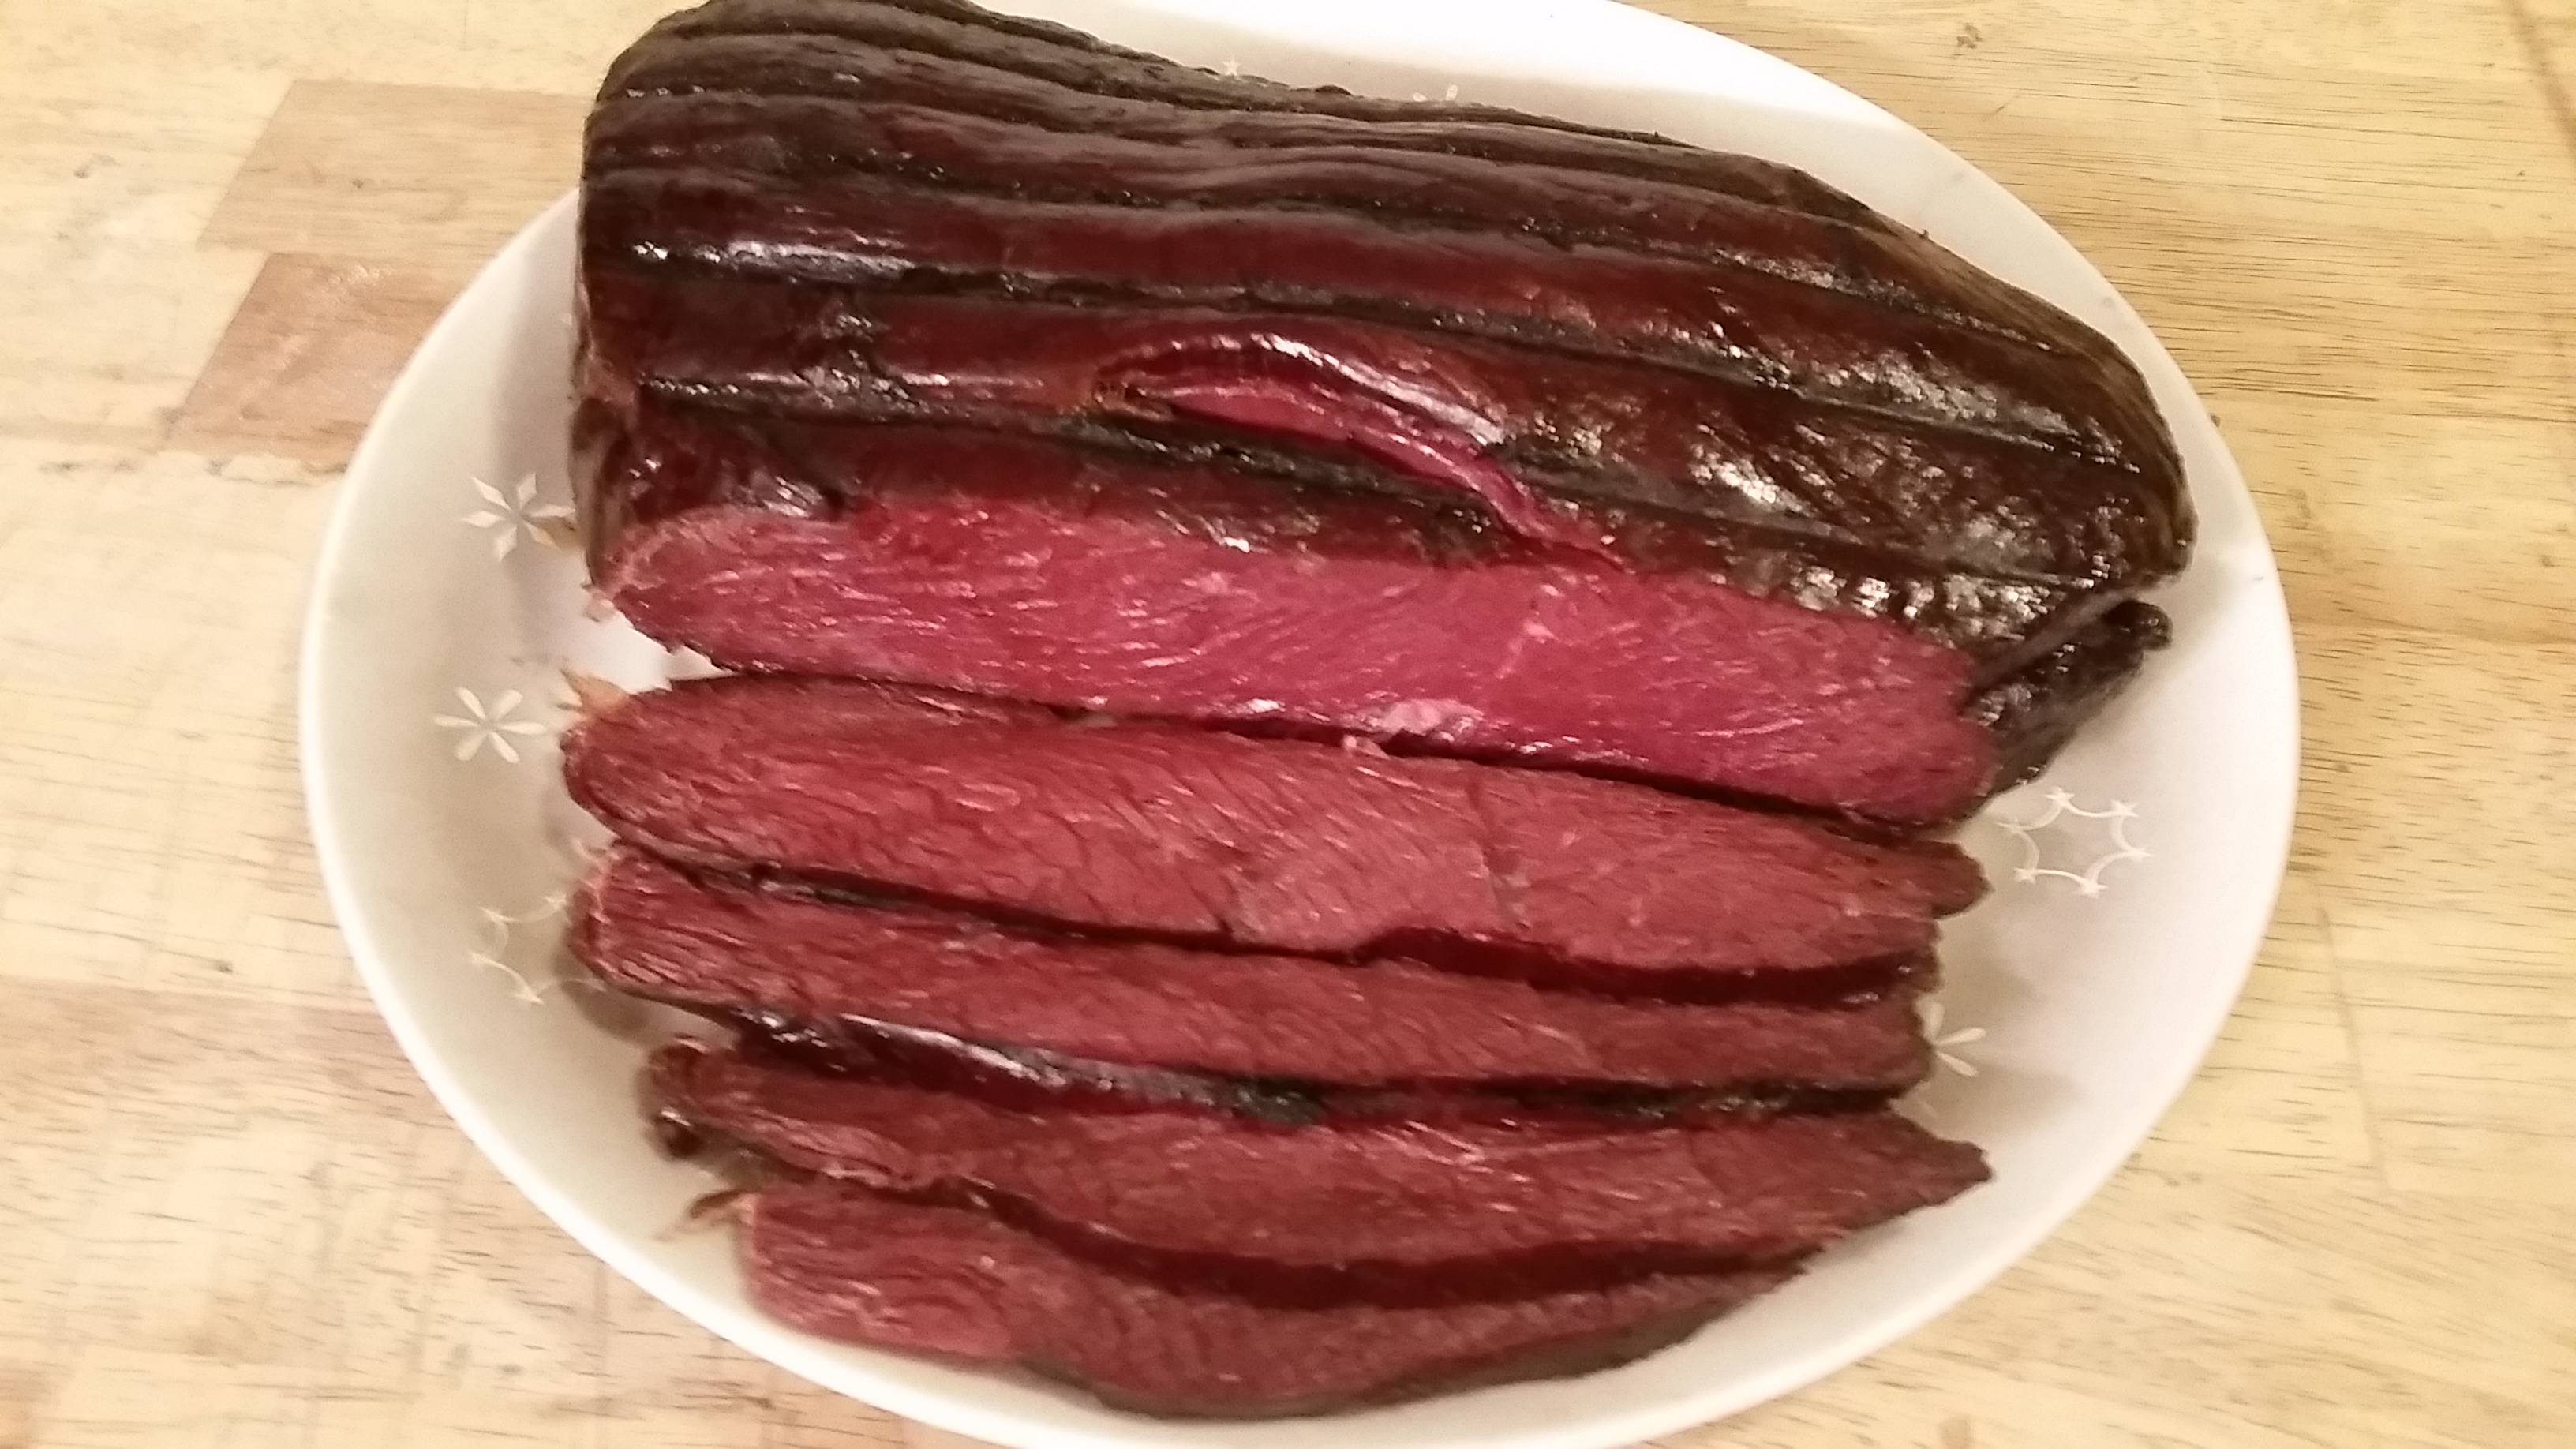 After the meat rests in the cooler, I put it in the refrigerator overnight. The next day I slice it thin and vacuum seal it in packages like lunch meat. There are plenty of ways you can use this but I like to just make sandwiches with some cheese and horseradish mustard. If you process your own deer and you are looking for a delicious and relatively easy recipe, give this one a try. I think you’ll enjoy it.