By Dan Gorman
 I started dabbling in meat processing about ten years ago, and I took my last full deer to the locker in 2009. There were several factors that influenced my decision to do everything myself. The first was price. The last deer I took in cost $419 to process. A lot of this was my own fault, since I had them cape it and most of the meat I ordered was processed sausage with cheese. This adds quite a bit since you have the cost of the added pork, cheese, and the labor involved in stuffing and smoking the meat.
 Another factor in my decision was the thought of my meat being mixed with other animals that may not have been properly cared for in the field. Several lockers in my area don’t guarantee you will receive the same meat you brought in. I don’t fault them for this, because it would likely be a nightmare trying to keep it all straight. I hear people talk of “gamey” taste in deer, and I believe this is caused more by care of the animal than by the animal itself. I live in Iowa.
  The deer here eat the best food on the planet. They even get to eat the good stuff cattle don’t have access to. I’m a firm believer in the theory that field dressing an animal and getting it to the area where it can be hung and skinned as soon as possible will yield better tasting meat. It is worth it to me to do it myself knowing the care I take will all but guarantee me the best tasting meat available.
The last major factor for me is the satisfaction of knowing I provided the meat from start to finish for my family. It’s also a great way to get everyone involved in the process, and my wife and kids help quite a bit. I think it’s important for kids to know where food comes from and I can’t think of a better way to teach them. I take pride in making food that people enjoy eating. It makes me happy when someone tries something I made and asks where I had it done. I started small with a cheap grinder, a homemade smoker, and an entry level dehydrator. 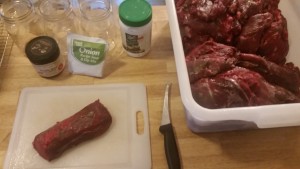 Each year I would either add a piece of equipment, or upgrade an existing piece of equipment. I now have a commercial grade grinder, a vertical sausage stuffer, a meat mixer, a propane smoker, a slicer, vacuum sealer, a pressure canner, and a few other small items that make things easier. I figured in 2011 the money I saved over taking carcass deer to the locker was more than $1700, and I know I got the same meat back.
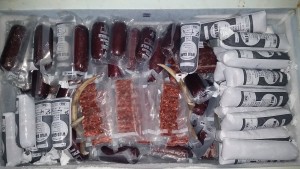
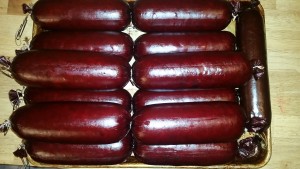
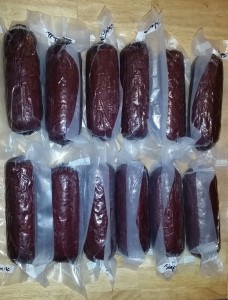
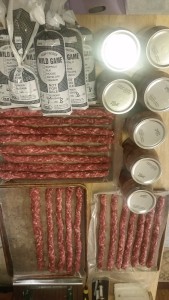
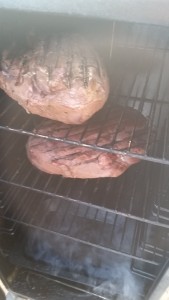
 This year we made brats, breakfast sausage in bulk bags and in links, bulk burger as well as burger patties, summer sausage with jalapeno and cheese, corned venison, pastrami, polish sausage, ring bologna, and canned venison. I started canning venison a few years ago, and each year I make more than the last, as I find more recipes I like to use it in. When canning meat, care must be taken to make sure it will be safe to eat. If not done correctly, the meat can give you botulism. This is why a pressure canner is strongly recommended to cook and seal the meat.
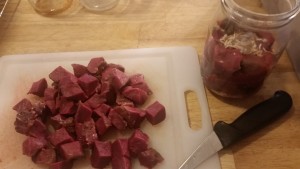
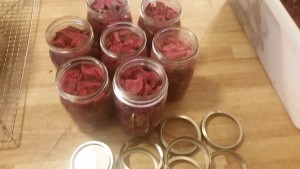 I start with the lean cuts, such as the backstraps and the large muscles from the rear quarter. I trim all the silver skin and fat away and cut into 1 inch cubes. I generally use quart jars, but you can use pints if you want smaller portions. I fill the jar roughly halfway with meat, then I add 1 teaspoon each of canning salt, beef bouillon, and onion soup mix. I then fill the jar the rest of the way up leaving one inch of headspace, and add one more teaspoon of canning salt, beef bouillon, and onion soup mix. Do not add any liquid to the jar. After the jar is full, I place a new clean lid on it, and tighten it with a ring.
 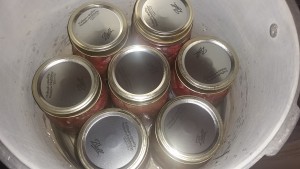 Place the jars in the pressure canner with 2 quarts of water. I always push a toothpick through the pressure vent to make sure it is clear before I seal the canner and start the burner.
Once the burner is going, it takes several minutes to start producing steam from the vent. After it has vented for about 5 minutes, I place the weight on the vent. It takes several more minutes to pressurize the canner. 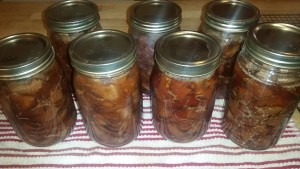 Once the pressure reaches 10lbs on the gauge, I turn the heat down to maintain that temperature and start the timer. The meat has to cook at pressure for 75 minutes for pints and 90 minutes for quarts. After the allotted time is up, I shut the burner off and let the pressure bleed off. This process can take 30 minutes or more. It is very important to let the pressure come down before you remove the weight from the vent tube. Once the pressure is at zero, I remove the lid from the canner. Always lift the lid toward you, so the steam that escapes will be directed away from you.
 Remove the jars with a jar lifter and place on a towel on a solid surface and allow them to cool. The jars will be extremely hot, and the liquid in them will boil for several minutes after they are removed from the canner you will hear the lids pop as they seal, but they will remain very hot for upwards of an hour. Once the jars have cooled, I check to make sure the lid is sealed properly. It is now safe to remove the rings and store the jars in a cool dry place.
 Canning is a great way to store meat, and it is some of the most tender and delicious meat available. It takes some time, but it is well worth it. On average, a batch of seven quarts takes about four hours to from whole muscle to sealed jars. I use the meat in various recipes from chili, to stroganoff, to fajitas and just about everything in between. I haven’t found a recipe I don’t like using canned meat in, and I even eat it cold out of the jar on crackers.
If you don’t currently process your own meat and would like to I highly recommend it. The feeling of satisfaction is tremendous, and you have no doubts about what you are eating. There is a lot of trial and error involved, but once you figure out what you like, it is a very rewarding process.
